
How to Do a Pull-Up: Strict Form, Cues, and Progressions
On this page6
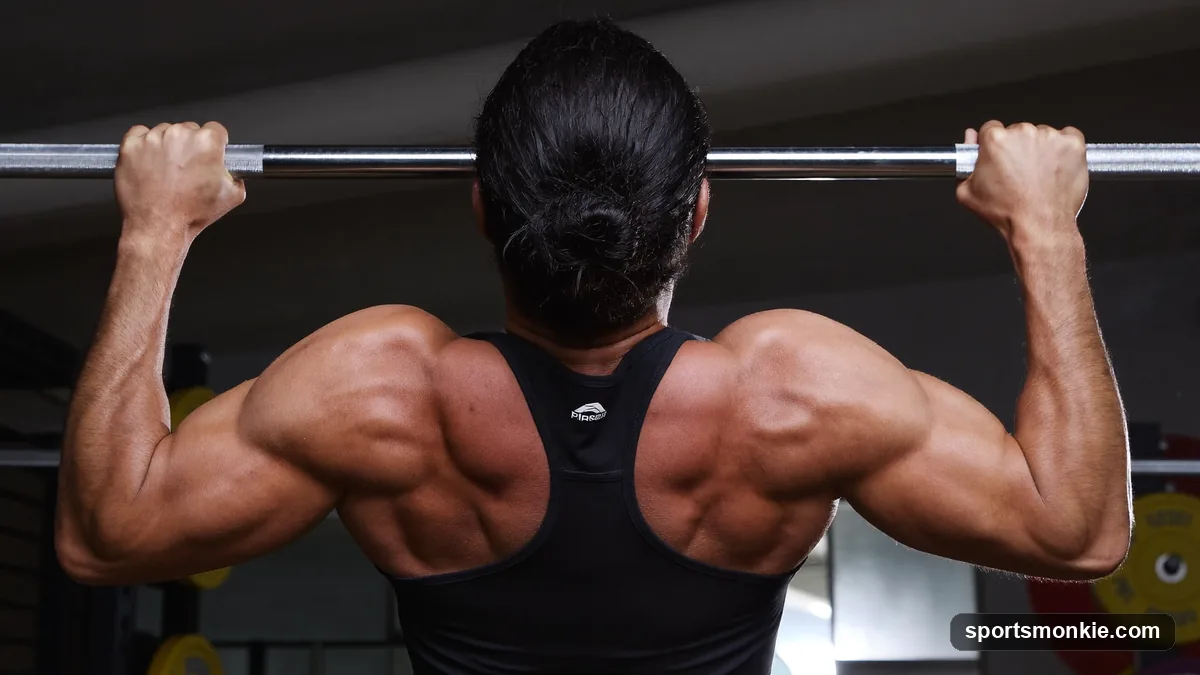
To do a pull-up, hang from an overhand grip with your arms fully straight, pull your shoulder blades down and back, then drive your elbows toward your ribs until your chin clears the bar and lower under control to a full hang. That is the whole strict movement, and every rep should look the same. Below is the step-by-step, the form cues that make it click, the mistakes that stall people, and the progressions that build your first rep if you cannot do one yet.
How to Do a Strict Pull-Up, Step by Step
A strict pull-up means no kipping, swinging, or leg drive — just your upper body moving your bodyweight through a full range of motion. Work through these five steps in order.
1. Set your grip. Reach up and grab the bar with an overhand (pronated) grip, palms facing away, hands about one to one-and-a-half hand-widths outside your shoulders. Wrap your thumbs around the bar and grip hard. Too wide a grip shortens your range and stresses the shoulders; shoulder-width is a safe, strong default.
2. Start from a dead hang. Let your body hang with arms completely straight and feet off the floor. Cross your ankles or bend your knees so you do not touch the ground. This is your start and finish position for every rep.
3. Retract and depress your scapulae. Before your arms bend, pull your shoulder blades down and back, as if tucking them into your back pockets. This small move — scapular retraction and depression — engages your lats and is the single cue most missing pull-ups lack. Your body should rise an inch or two before the arms do anything.
4. Pull your elbows to your ribs. Now drive your elbows down and toward your sides, thinking “pull the bar to my chest” rather than “bend my arms.” Keep your chest tall and lead with the upper chest. Continue until your chin clears the top of the bar. Keep your core braced and legs still so the body does not swing.
5. Lower under control. Descend slowly — aim for two to three seconds — until your arms are fully straight and you are back in a dead hang. Do not drop or bounce out of the bottom. A controlled descent is where much of the strength is built.
That full-range rep, from dead hang to chin-over-bar and back, is one strict pull-up. Bracing the trunk this way is the same anti-swing tension you use in most compound lifts, and the proper lifting form guide covers how that whole-body tension carries across the gym.
Expert Form Cues That Make Pull-Ups Click
- “Chest to the bar, not chin over.” Aiming your upper chest at the bar keeps you from craning your neck to sneak your chin up. Reaching with the chin is the classic half-rep cheat.
- “Squeeze an orange in your armpit.” This mental image cues the lats to fire at the start instead of letting the biceps do all the work.
- “Bend the bar.” Trying to pull your hands apart (without actually moving them) engages the lats and stabilizes the shoulders, the same external-rotation tension that protects the shoulder on an overhead press form rep.
- “Ribs down, glutes tight.” Bracing your core and squeezing your glutes turns your body into one rigid unit, killing the swing that wastes energy and turns a strict rep into a kip.
- Full range, every rep. Straight arms at the bottom, chin clearly over the top. Partial reps feel productive but build far less strength than honest full-range ones.
Common Pull-Up Mistakes and How to Fix Them
Kipping or swinging. Using a leg kick and hip swing to fling yourself up trains momentum, not strength. Fix it by pausing for a beat in the dead hang before each rep and keeping your legs dead still.
Skipping the scapular set. If you yank with straight, relaxed shoulders, you lose your strongest starting position and stall at the bottom. Always initiate by pulling the shoulder blades down first.
Half reps. Stopping short at the top (chin below the bar) or the bottom (arms bent) shortens the movement and shortchanges the result. Own the full range even if it means fewer reps.
Flaring the elbows wide. Letting the elbows drift straight out to the sides puts the shoulders in a weak, cranky position. Keep the elbows tracking down and slightly in front of the body.
Craning the neck. Throwing your head back to get the chin up hides an incomplete rep and strains the neck. Keep your gaze forward or just above the bar and let the chest do the work. If any pull causes sharp shoulder or elbow pain rather than muscular fatigue, stop and consult a coach or clinician before continuing.
Warm-Up Before You Pull
Cold shoulders and lats do not like a hard set of pull-ups. Spend five minutes preparing them:
- Arm circles and band pull-aparts — 2 sets of 15 to wake up the mid-back and rear shoulders.
- Dead hangs — 2 hangs of 15 to 20 seconds to open the shoulders and build grip.
- Scapular pull-ups — 2 sets of 8: hang straight, then shrug your shoulders down to raise your body an inch without bending the arms. This rehearses step 3 in isolation.
- A few band-assisted or light inverted rows to groove the pulling pattern before your working sets.
The same principle applies to lower-body training — you would warm the hips and prime the pattern before a heavy proper squat form or proper deadlift form set rather than loading a cold joint.
Beginner Progressions to Your First Pull-Up
If you cannot yet do a single strict rep, you build one by training the same movement with less resistance. Rotate these three, two or three times a week.
1. Band-assisted pull-ups. Loop a resistance band over the bar and put a knee or foot in it. The band gives the most help at the bottom, where you are weakest, and lets you train the full range. Use a thick band at first, then step down to thinner bands as you get stronger — the goal is 3 sets of 5 to 8 clean reps before dropping band thickness.
2. Negatives (eccentric-only reps). Jump or step up so your chin starts over the bar, then lower yourself as slowly as possible — aim for 4 to 5 seconds — to a full dead hang. Do 3 to 5 singles. Negatives build the exact strength the full rep needs and often produce a first pull-up within a few weeks.
3. Inverted rows. Set a bar (or rings) at hip-to-chest height, hang underneath with a straight body, and pull your chest to the bar. The more horizontal your body, the harder it is. This trains the same pulling muscles with a scalable load and no bar-height barrier.
Progress by adding a rep, adding a slow-count second, or reducing band assistance each week. Track it the same disciplined way you would a barbell lift — nudging load or reps in small steps is exactly how a romanian deadlift form or front squat form progression works over time.
How to Program Pull-Ups Into Your Week
Pull-ups respond well to frequent, submaximal practice. Two to three sessions a week is plenty while you are building your first reps, with a rest day between hard sessions. A simple beginner block:
- Days 1 and 3: 3 sets of band-assisted pull-ups or 5 slow negatives, plus 3 sets of inverted rows.
- Optional day 2: easy dead hangs and scapular pull-ups for grip and shoulder health.
Once you can do a few strict reps, “greasing the groove” — several easy sets of 2 to 3 reps spread through the day, never near failure — adds volume without burning you out. Because the pull-up is an upper-body pull, it pairs naturally with a push movement like a proper bench press form session, and rounding out a lower-body day with a goblet squat form drill keeps a beginner routine balanced across the whole body.
Keep every rep honest — full dead hang at the bottom, chin over the bar at the top — and the strength compounds fast. If a movement ever hurts a joint rather than fatiguing a muscle, back off and get eyes on your form from a qualified coach or clinician.
Frequently Asked Questions
See the FAQ section for quick answers on building your first rep, muscles worked, rep targets, and training frequency.
Frequently asked questions
How do I do a pull-up if I can't do one yet?+
Build the pattern with three moves: band-assisted pull-ups for full-range reps, slow 5-second negatives lowering from the top, and inverted rows under a bar or rings. Train them two or three times a week, add a rep or reduce band thickness each week, and most beginners reach their first strict pull-up in 6 to 12 weeks.
What muscles does a pull-up work?+
A pull-up mainly works the latissimus dorsi (the large back muscles), plus the biceps, forearms, rear shoulders, and the mid-back rhomboids and traps. Your core and grip work hard to keep the body from swinging. It is one of the best upper-body pulling exercises because it trains all of these together in one movement.
How many pull-ups should a beginner aim for?+
Getting one clean, full-range strict pull-up is the first goal. From there, working up to 3 sets of 5 reps is a solid intermediate target for most adults. Chase quality reps with a full dead hang and chin over the bar rather than half-range reps, since partial reps build far less strength.
Is a pull-up or chin-up easier?+
A chin-up, done with palms facing you, is usually easier because the biceps contribute more and the shoulder position feels more natural. A pull-up uses an overhand grip and leans more on the back muscles. Many beginners start with chin-ups or a neutral grip, then progress to the wider overhand pull-up.
Why can't I pull my chin over the bar?+
The most common reasons are starting the pull with straight, disengaged shoulders, or grinding to a stop near the top where the lats are weakest. Begin every rep by pulling your shoulder blades down first, drive your elbows down toward your ribs rather than just bending your arms, and add slow negatives to build strength through that sticking point.
How often should I train pull-ups?+
Two to three sessions a week works well for building your first pull-ups, with at least a day of rest between hard sessions so the muscles recover. If you are doing greasing-the-groove style practice with easy sets well short of failure, you can train more frequently. Always stop a set once your form breaks down.
Sources
Play & tools
Free browser games and tools — no account, no download.
- Play today's Sports Connections — Today's Sports Connections — daily hints, answers, and play the grid.
- Play Guess the NFL Player — A new mystery NFL player every day. Eight guesses, with a clue on each — plus free unlimited mode.
- Explore all our games →
Related guides
Goblet Squat Form: How to Do It Right (Cues, Depth, Mistakes)
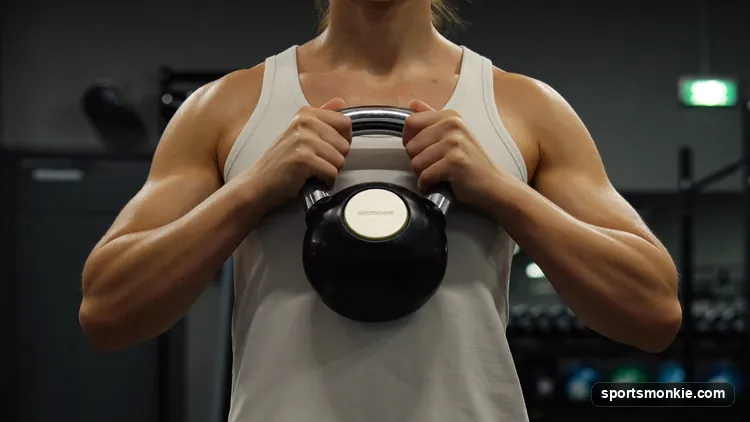
Correct goblet squat form means holding a dumbbell or kettlebell at chest height, sitting straight down between your hips with an upright torso, dropping to at least parallel, and driving your elbows inside your knees at the bottom.
Breaststroke Technique: Pull, Breathe, Kick, Glide Timing
Master breaststroke technique with the pull-breathe-kick-glide sequence, body undulation, and timing cues that fix common mistakes and make you faster.

Freestyle Swimming Technique: Body Position, Catch & Pull
Master freestyle swimming technique with coaching cues for body position, the catch, high-elbow pull, hip rotation, and a two-beat kick that saves energy.
Bulgarian Split Squat Form: How to Do It Right
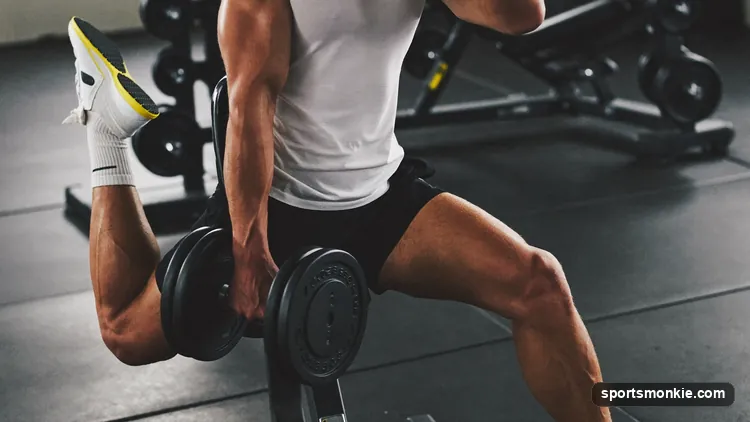
Proper Bulgarian split squat form starts with a stance long enough that your front shin stays near vertical, a slight forward torso lean, and the knee tracking over the toes. Here is the step-by-step technique, cues, and common mistakes.
Front Squat Form: Elbows High, Torso Tall, Full Depth
Front squat form starts with a solid front rack, elbows driven high, an upright torso, and a controlled descent to at least parallel. Here are the exact cues, mobility checks, and mistakes to fix.
Hack Squat Form: How to Use the Machine Safely, Step by Step
Hack squat form means feet mid-platform and shoulder-width, back and shoulders flat against the pads, knees tracking over the toes, and a controlled drop to thighs-parallel — here are the cues, depth, and mistakes.