
Overhead Press Form: Grip, Bar Path, and Lockout, Step by Step
On this page8
- 01How to set up your grip and hands
- 02The rack position: where the bar starts
- 03How to brace your core and set your legs
- 04The bar path: press around your face, not around it
- 05How to finish the lockout overhead
- 06Common overhead press mistakes and how to fix them
- 07How to warm up and progress the lift
- 08When to get help
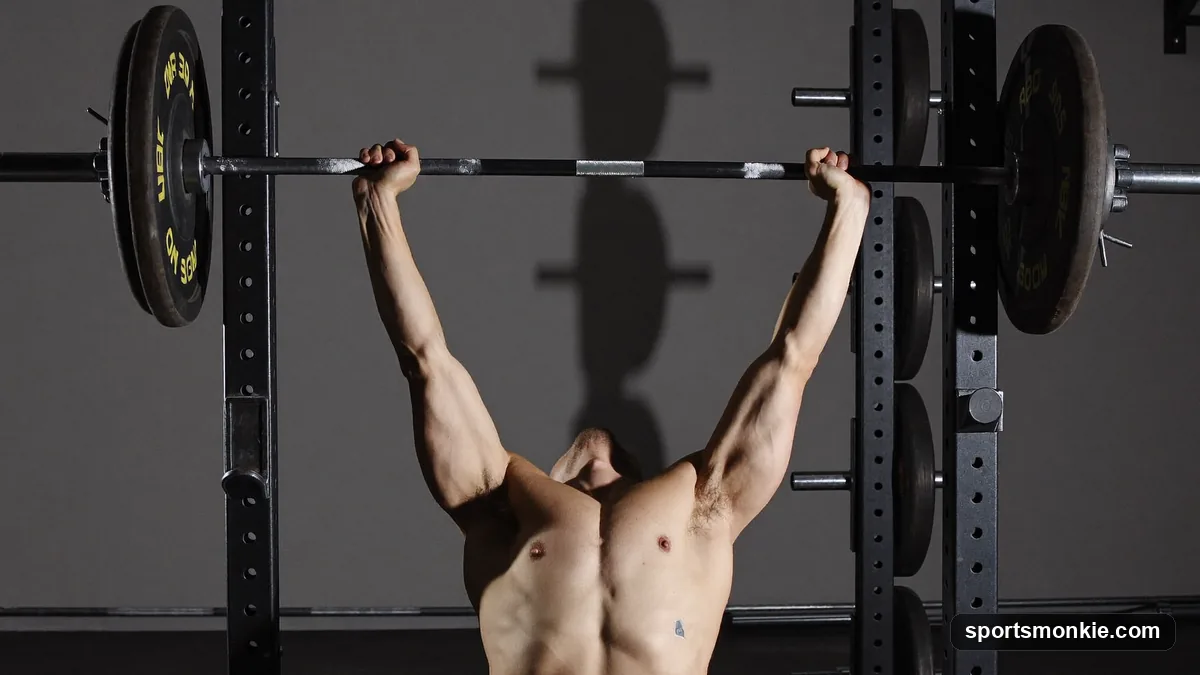
Good overhead press form is one thing above all else: a straight, vertical bar path over your mid-foot. Grip the bar just outside your shoulders, brace your abs and glutes, move your head back so the bar travels straight up past your face, and lock out with the bar stacked over the base of your neck. Everything below breaks that down, step by step, and fixes the leaning-back and bar-drifts-forward faults that hold most lifters back. As with any barbell lift, the underlying rules of a braced trunk and stacked joints come from the same proper lifting form guide that governs the squat, deadlift, and bench.
How to set up your grip and hands
Start with a grip just outside shoulder width, so your forearms are close to vertical when the bar rests on your shoulders. Wrap your thumb around the bar and let it sit low in your palm, stacked over the bones of your wrist rather than up near your fingers. A high bar position collapses the wrist back and bleeds power out of every rep.
Squeeze the bar hard. A tight grip creates tension all the way up the arm and helps keep the wrist neutral instead of bending back under load. If your wrists ache, the fix is almost always a lower bar position in the hand and a firmer grip, not a wrist wrap. The same “stack the joint, grip hard” principle drives a strong lockout on the bench press, where a bent-back wrist quietly wastes force in the same way.
The rack position: where the bar starts
Before you press, the bar sits on your front deltoids, not floating in your hands. Pull the bar into your shoulders so it rests on the front of the delts, elbows pointing slightly forward of the bar rather than flared straight out to the sides. Your forearms should be roughly vertical, wrist stacked over elbow, elbow under the bar.
This front-rack position matters because it puts the load directly over your base of support. If the bar starts out in front of your shoulders, you will press it in an arc away from your body and lose the vertical line before you even begin. Get the start position stacked and the whole rep gets easier.
How to brace your core and set your legs
Take a big breath into your belly and brace your abs as if you are about to be poked in the stomach, then squeeze your glutes hard. This is the single most underrated cue in the standing press. Bracing the trunk and glutes locks your ribcage down over your pelvis so you cannot arch your lower back to cheat the weight up.
Set your feet about hip-width apart, weight through the mid-foot, knees soft but not bent. The standing overhead press (often called the military press when done strict with feet together or hip-width and no leg drive) is a full-body lift: your abs, glutes, and even your quads work isometrically to give you a stable platform to push from. The bracing habit carries straight over from the deadlift, where the same 360-degree trunk pressure protects your spine under load.
The bar path: press around your face, not around it
Here is the move that separates a clean press from an ugly one. From the front rack, drive the bar straight up. Because your face is in the way, you have to move your head back slightly as the bar passes your chin, then push your head and chest forward “through the window” once the bar clears the top of your head.
The bar itself travels in a straight vertical line; your head moves out of the way and back in, not the bar around your head. Think “bar goes straight, head moves back.” A useful checkpoint: at lockout the bar should sit directly over the base of your neck and your mid-foot, so a camera filming from the side would see the bar, shoulder, hip, and ankle roughly in one vertical line. Keeping that stacked line is the same balance idea you rely on in a front squat, where the bar must stay over the mid-foot or you get pulled forward.
How to finish the lockout overhead
The rep is not done when your elbows straighten. At the top, shrug your shoulders up toward your ears and push tall, so the bar finishes stacked over your body with your biceps beside your ears and your armpits facing forward. This “shrug at the top” fully engages the traps and puts the shoulder in its strongest, most stable overhead position.
Lock the elbows, hold for a beat, then lower the bar under control back to the front rack along the same straight path, tucking your chin again as the bar passes your face. Do not just drop it onto your shoulders. Controlling the descent keeps tension on the muscles and grooves the same bar path on the way down, exactly the way a controlled eccentric builds a stronger Romanian deadlift.
Common overhead press mistakes and how to fix them
Most failed reps trace back to a handful of faults. Fix these in order:
- Leaning back too far. A slight upper-back lean to clear your chin is fine; arching hard through the lower back is not. It usually means the weight is too heavy or your core is not braced. Drop the load, brace the abs, and squeeze the glutes to pin the ribcage down.
- Bar drifts forward. If the bar loops out in front of you, you are not moving your head back to let it travel straight. Press up and slightly back toward your ears, not up and out.
- Elbows flared straight out. Wide-flared elbows at the start put the forearms at an angle and the bar behind the wrist. Keep elbows slightly in front of the bar so the forearm stays vertical.
- Wrists bent back. The bar is sitting too high in the palm. Lower it toward the base of the fingers over the wrist bones and grip harder.
- Half lockout. Stopping when the elbows straighten skips the strongest overhead position. Shrug up and finish with biceps by the ears every rep.
- No leg or glute tension. A soft, wobbly base leaks force. Stay braced head to toe, the same total-body tension you use to hold position under a heavy squat.
How to warm up and progress the lift
Warm up for 5 to 10 minutes with light cardio and shoulder mobility, then do 2 to 3 build-up sets with the empty bar and light plates before your working weight. Overhead pressing loads the shoulder through a big range, so cold, rushed sets are where technique breaks down first.
Progress slowly. The overhead press moves less weight than the squat or bench and adds load more slowly, so add small jumps, 2.5 lb (1 kg) per side or less, rather than chasing big weekly increases. Beginners should groove the bar path with light weight for several sessions before loading it heavily. If pressing overhead bothers your shoulders, build strength with the strict pattern and full range first, and treat a controlled pull-up and other pulling work as the balancing partner that keeps the shoulder healthy. A goblet-based warm-up such as the goblet squat is a useful way to raise your core temperature and reinforce bracing before you get under the bar.
When to get help
The overhead press is safe and joint-friendly for most healthy lifters when the bar path is straight and the trunk is braced. If you feel sharp shoulder pain, have a history of shoulder or lower-back injury, or cannot reach a full overhead lockout without pain, stop loading it and check with a qualified coach or clinician before progressing. This is general fitness information, not medical advice, and a form check from an experienced coach is the fastest way to fix a fault you cannot feel on your own.
Frequently asked questions
What is the correct form for an overhead press?+
Set your grip just outside shoulder width, rack the bar on your front delts with wrists stacked over your elbows, and brace your abs and glutes. Press straight up, tucking your chin so the bar clears your face, then shrug slightly and lock out with the bar over your mid-foot and biceps near your ears.
Where should the bar go on an overhead press?+
The bar should travel in a straight vertical line over your mid-foot, not out in front of you. It starts on your front delts, moves back past your face as you tuck your chin, and finishes stacked directly over the base of your neck and mid-foot. A bar drifting forward is the most common form fault and strains the shoulders.
Why do I lean back so much when overhead pressing?+
A big backward lean usually means the weight is too heavy, your core is not braced, or you are pressing the bar forward instead of straight up. A slight lean of the upper back to clear the chin is normal, but arching hard through the lower back turns the lift into a standing incline press and stresses the spine. Brace your abs and squeeze your glutes to lock the ribcage down.
Should your elbows be in front or to the side on overhead press?+
In the racked start position your elbows should sit slightly in front of the bar, not flared straight out to the sides. This keeps your forearms close to vertical so the bar sits over your wrist and mid-foot. As you press up the elbows rotate under and finish locked out directly beneath the bar.
How wide should my grip be on the overhead press?+
Grip the bar just outside shoulder width, roughly so your forearms are vertical when the bar rests on your front delts. Too wide reduces your range and pressing power; too narrow flares the elbows and stresses the wrists. Wrap your thumb around the bar and keep the bar low in the palm, stacked over the wrist bones.
Is the overhead press bad for your shoulders?+
The overhead press is not inherently bad for healthy shoulders and can build strong, resilient ones when done with a straight bar path and full lockout. Problems usually come from a forward bar path, pressing with heavy weight before the technique is grooved, or existing shoulder issues. If you have shoulder pain or a prior injury, check with a coach or clinician before loading it heavily.
Sources
Play & tools
Free browser games and tools — no account, no download.
- Play today's Sports Connections — Today's Sports Connections — daily hints, answers, and play the grid.
- Play Guess the NFL Player — A new mystery NFL player every day. Eight guesses, with a clue on each — plus free unlimited mode.
- Explore all our games →
Related guides
Proper Bench Press Form: A Step-by-Step Guide to a Safe, Stronger Press
Proper bench press form starts with a shoulder-width-plus grip, retracted shoulder blades, a slight arch, and a bar path that touches the lower chest. Here is how to set up, press, and avoid the mistakes that stall your bench and hurt your shoulders.
Proper Deadlift Form: A Step-by-Step Setup, Hinge, and Lockout Guide
Proper deadlift form starts with the bar over your midfoot, a neutral spine, and a braced core, then drives through the floor to a tall lockout. Here is the full setup-to-lockout checklist plus the mistakes that wreck it.
Sumo Deadlift Form: Stance, Grip, and Setup Step by Step
Sumo deadlift form uses a wide stance, toes turned out, hands gripping inside the knees, and a more upright torso than the conventional pull. Here is the full setup-to-lockout checklist plus the mistakes that stall the bar.
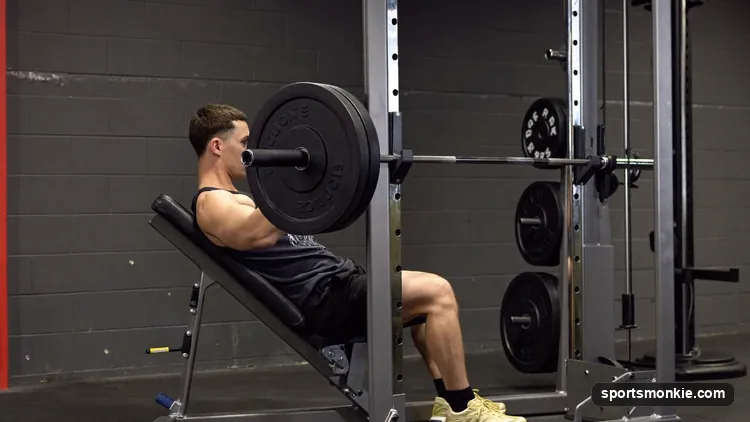
Hack Squat Form: How to Use the Machine Safely, Step by Step
Hack squat form means feet mid-platform and shoulder-width, back and shoulders flat against the pads, knees tracking over the toes, and a controlled drop to thighs-parallel — here are the cues, depth, and mistakes.
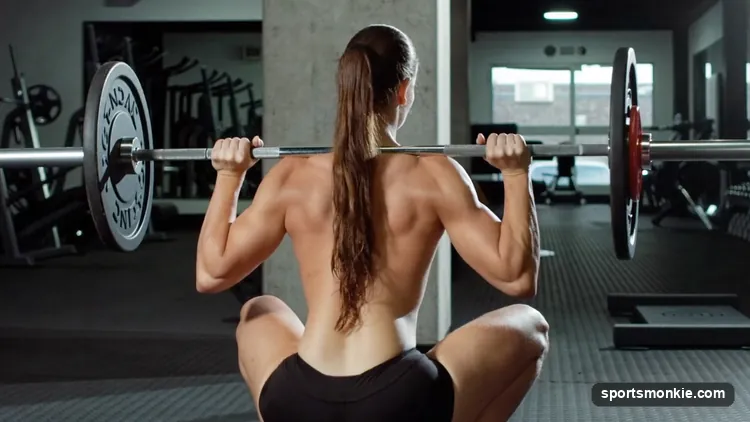
Proper Squat Form: How to Back Squat Safely, Step by Step
Proper squat form means a braced trunk, hips and knees bending together, knees tracking over the toes, and thighs breaking parallel — here is the setup, the cues, and the fixes for butt wink and knee cave.
Romanian Deadlift Form: A Step-by-Step Hip-Hinge Guide
Romanian deadlift form starts from a standing position: push your hips back, keep the bar dragging against your legs, lower until you feel a hamstring stretch (around mid-shin), and keep a neutral spine the whole way. Here is the full technique, cues, and the mistakes to avoid.