
Front Squat Form: Elbows High, Torso Tall, Full Depth
On this page8
Good front squat form comes down to four things: a stable front rack with the bar on your front delts, elbows driven high and held there the whole rep, a tall, upright torso, and a controlled descent to at least parallel over your midfoot. Get those right and the front squat becomes one of the best quad and core builders you can train. Miss any one of them and the bar rolls forward and dumps off your shoulders. Below are the exact cues, the mobility you need, and the mistakes that wreck most people’s reps.
How to Set Up the Front Rack Position
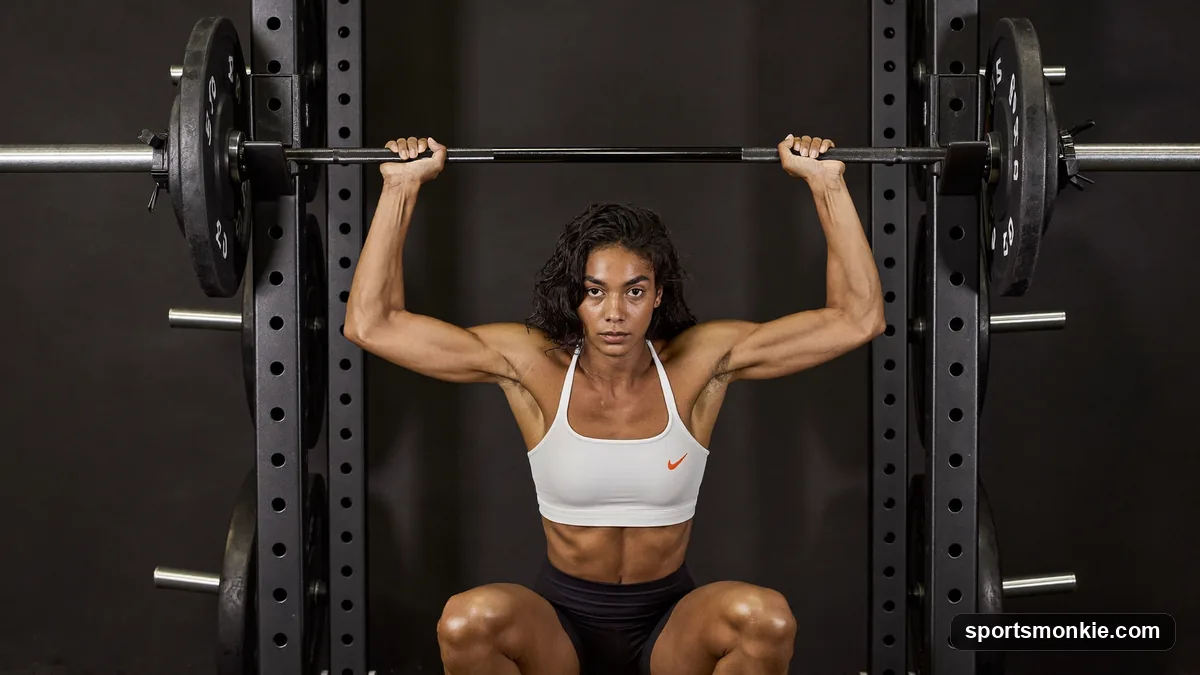
The front rack is the whole lift. The bar rests on the shelf of your front deltoids, pressed lightly against your throat, with your fingers only guiding it, never gripping it like a curl. Set the bar in a rack at upper-chest height, step under it, and drive your elbows up and forward until the bar settles onto that muscle shelf. Your upper arms should finish roughly parallel to the floor.
You have two grip options, and the same principle covers picking a stance in the standard proper squat form: choose what lets you hold position, not what looks impressive.
- Clean grip: hands just outside shoulder-width, fingers hooked under the bar, wrists cocked back, elbows high. It locks the bar in and carries straight over to cleans. It also demands real wrist, lat, and triceps mobility.
- Cross-arm grip: arms crossed over the bar, each hand pressing down on the opposite side, palms flat. Easier on tight wrists and a fine choice for pure leg training.
Whichever you use, the bar sits on the delts, not the hands. If it is riding on your fingers, you will lose it the moment you get tired.
Elbows High: The One Cue That Fixes Everything
Keep your elbows pointed at the wall in front of you from the first inch of the descent to lockout. High elbows keep the bar shelf level and your torso upright; the instant your elbows drop, the bar tips forward, pulls your chest down, and the rep collapses. This is the single most important front-squat cue, the same way “spread the floor” anchors a back squat.
A practical fix: as you stand up out of the hole, think elbows up first, then let the bar follow. Leading with the elbows keeps your chest tall and stops the bar from sliding toward your fingertips. If your elbows still crash down every set, the cause is almost always mobility or a weak upper back, covered below.
The Descent: Brace, Sit, and Stay Over Midfoot
Before you unrack, take a big breath into your belly and brace your trunk like you are about to be poked in the stomach. This bracing is the same 360-degree pressure you use in a heavy proper deadlift form pull, and it is what protects your spine under load. Keep that pressure the whole rep.
From the top:
- Take a breath and brace hard.
- Break at the hips and knees together, sitting straight down rather than back.
- Keep the bar stacked over your midfoot the entire way — that vertical bar path is non-negotiable.
- Descend under control to at least parallel, elbows still high.
- Drive through your whole foot to stand, elbows leading, torso tall.
Because the load sits in front, the front squat forces a much more vertical torso than the back squat, which is what makes it so joint-friendly and quad-dominant.
How Deep Should You Go?
Aim for at least parallel, where your hip crease drops level with the top of your kneecap, and go deeper if you can do it with a flat back and heels down. Most lifters can safely hit a full-depth squat in the front rack because the upright position keeps the spine in a strong line. The limit is honest: stop at the point where your lower back starts to round or your heels lift. If you cannot reach parallel yet, that is a mobility issue to train, not a rep to force. A little heel elevation from lifting shoes or a small plate can unlock depth while you build ankle range.
Front Squat vs Back Squat: What Changes
The front squat and back squat train the same movement with a different emphasis, so most programs use both rather than picking one.
| Front squat | Back squat | |
|---|---|---|
| Bar position | Front rack, on delts | On upper back/traps |
| Torso angle | Very upright | More forward lean |
| Main emphasis | Quads, upper back, bracing | Quads plus more hips/glutes |
| Load you can move | Lighter (~80–85% of back squat) | Heavier |
| Limiting factor early on | Front rack and mobility | Leg and hip strength |
The front squat’s upright demand makes it a strong accessory to your pressing work too — a tall trunk under load reinforces the same bracing you want in overhead press form, and the leg strength transfers back to your proper bench press form leg drive. If you already own a solid back squat, adding front squats is one of the fastest ways to expose and fix a weak upper back and shaky brace.
Mobility You Actually Need
Front squats expose tight wrists, lats, triceps, ankles, and a stiff thoracic spine faster than any other lift. If the front rack feels impossible, work these before adding weight:
- Wrists and triceps: gentle wrist extension stretches and banded triceps work loosen the clean grip.
- Lats: an overhead lat stretch on a rack frees your arms to get the elbows up.
- Ankles: limited ankle dorsiflexion pitches you forward; a raised heel is a legitimate stopgap while you train the range.
- Thoracic spine: foam-roll and extend the mid-back so you can stay tall.
If any of this is painful rather than just tight, or you have a wrist or shoulder issue, consult a coach or clinician before loading the pattern. Good mobility here pays off across every hinge and squat pattern, including the more hip-dominant romanian deadlift form.
Common Front Squat Mistakes
Elbows dropping. The number-one fault. The bar rolls forward and you fold over. Fix the mobility, strengthen the upper back, and re-cue elbows high every rep.
Bar sitting on the fingers instead of the delts. You are trying to hold the bar like a curl. Let the delts carry it; the fingers only steer.
Rising hips first. Shooting the hips up turns a front squat into a good-morning and dumps the bar. Lead with the chest and elbows so the torso stays vertical.
Heels lifting / caving knees. Usually ankle mobility or a stance that is too narrow. Widen slightly, screw the feet into the floor, and elevate the heels if needed.
Chasing weight before owning the position. The front rack, not your legs, is the early limiter. Build the position light first.
A Simple Way to Learn and Progress
Start by learning the front rack with an empty barbell, or even a broomstick, until the bar sits on your delts with high elbows and no wrist pain. The goblet squat is the best on-ramp of all: holding a single dumbbell at your chest in the goblet squat form teaches the same upright torso and midfoot balance with zero front-rack mobility demand, which is why coaches use it before graduating lifters to the barbell.
From there, progress like this:
- Weeks 1–2: empty bar or goblet squat, 3 sets of 8, groove the position.
- Weeks 3–4: add light plates, 3–4 sets of 5, elbows high every rep.
- Ongoing: add small weight jumps only while the position holds; the moment your elbows drop, that is your working ceiling for the day.
The front squat sits inside a bigger picture of barbell technique — if any lift feels off, step back to the fundamentals in our proper lifting form guide and rebuild the pattern from there. Owning the front squat will sharpen your back squat, your cleans, and your bracing all at once, and none of it requires a supplement or a gadget — just patient reps and honest depth.
Frequently asked questions
Where should the bar sit in a front squat?+
The bar rests on the shelf of your front deltoids and against your throat, not in your hands. Your fingers only guide it. If the bar sits out on your fingers or down on your chest, drive your elbows higher until it settles onto the muscle shelf across the front of your shoulders.
Clean grip or cross-arm grip for front squats?+
Use the clean grip if you have the wrist and lat mobility for it, since it locks the bar in place and carries over to Olympic lifting. Use the cross-arm grip if tight wrists make the clean grip painful. Both are valid; what matters is that your elbows stay high and the bar stays on your delts.
How deep should you go in a front squat?+
Descend to at least parallel, where the crease of your hip drops level with the top of your knee, and go deeper if you can keep your torso upright and heels flat. Most people can safely reach a full squat in the front squat because the upright position is joint-friendly. Stop where your back rounds.
Why do my elbows drop during front squats?+
Elbows usually drop because of tight lats or triceps, a weak upper back, or losing your brace as you fatigue. The moment your elbows fall, the bar shifts forward and you get pulled out of position. Cue yourself to point your elbows at the wall in front of you throughout every rep and stop the set when you can no longer hold it.
Is the front squat better than the back squat?+
Neither is universally better; they train the same pattern with a different emphasis. The front squat loads the quads and demands an upright torso and strong bracing, while the back squat lets you move more total weight and involves the hips and posterior chain more. Most lifters benefit from doing both.
What weight should I front squat compared to my back squat?+
Most trained lifters front squat roughly 80 to 85 percent of their back squat, though the ratio varies. If you are new to the lift, expect it to feel much lighter at first because the front rack and upright position are the limiter, not your legs. Build the position with lighter loads before chasing numbers.
Sources
Play & tools
Free browser games and tools — no account, no download.
- Play today's Sports Connections — Today's Sports Connections — daily hints, answers, and play the grid.
- Play Guess the NFL Player — A new mystery NFL player every day. Eight guesses, with a clue on each — plus free unlimited mode.
- Explore all our games →
Related guides
Goblet Squat Form: How to Do It Right (Cues, Depth, Mistakes)
Correct goblet squat form means holding a dumbbell or kettlebell at chest height, sitting straight down between your hips with an upright torso, dropping to at least parallel, and driving your elbows inside your knees at the bottom.
Bulgarian Split Squat Form: How to Do It Right
Proper Bulgarian split squat form starts with a stance long enough that your front shin stays near vertical, a slight forward torso lean, and the knee tracking over the toes. Here is the step-by-step technique, cues, and common mistakes.
Hack Squat Form: How to Use the Machine Safely, Step by Step
Hack squat form means feet mid-platform and shoulder-width, back and shoulders flat against the pads, knees tracking over the toes, and a controlled drop to thighs-parallel — here are the cues, depth, and mistakes.
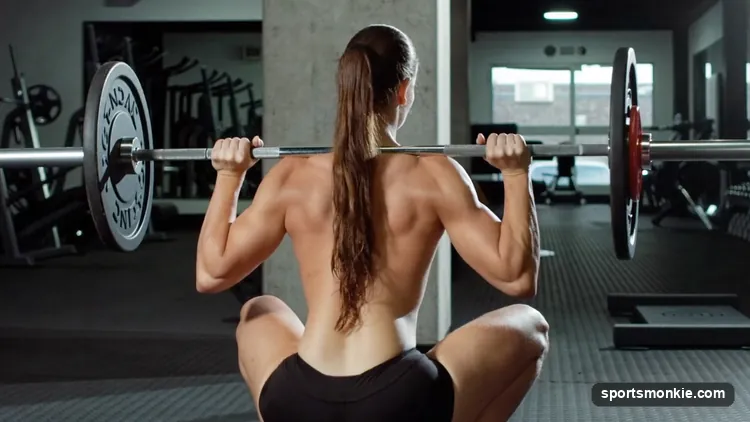
Proper Squat Form: How to Back Squat Safely, Step by Step
Proper squat form means a braced trunk, hips and knees bending together, knees tracking over the toes, and thighs breaking parallel — here is the setup, the cues, and the fixes for butt wink and knee cave.

Heptathlon Training Guide: Beginner and High School Plan
A practical heptathlon training guide for beginners and high school athletes, with weekly structure, event priorities, recovery and common mistakes.

Couch to 5K Plan: The Full 9-Week Run-Walk Schedule
Follow the complete 9-week Couch to 5K schedule, with all 27 sessions, pace guidance, rest days and a realistic explanation of the 30-minute goal.