
Proper Bench Press Form: A Step-by-Step Guide to a Safe, Stronger Press
On this page7
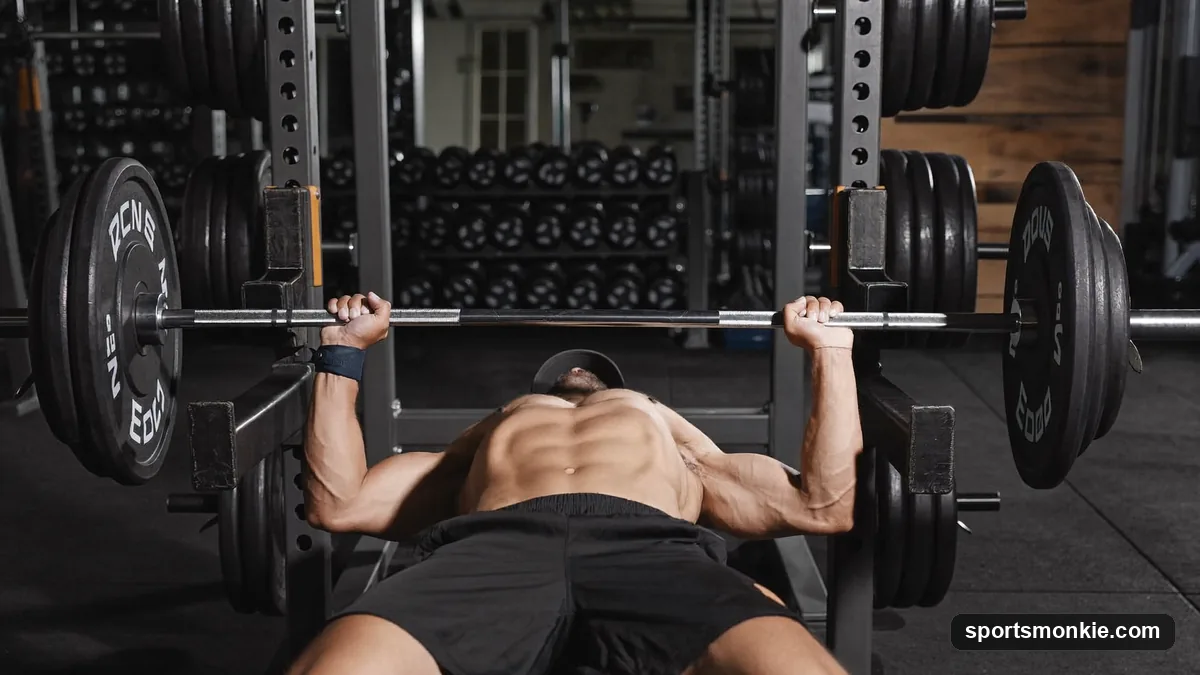
Proper bench press form comes down to five things: a grip slightly wider than shoulder width, shoulder blades pinched back and down, a small lower-back arch with feet planted, a controlled bar path to the lower chest, and elbows tucked to roughly 45-75 degrees. Nail those and the press becomes safer for your shoulders, stronger through better leverage, and repeatable rep after rep. Below is the full setup, the press itself, the mistakes that stall most lifters, and how to warm up and build the lift over time.
How to set up on the bench
A good bench press is won before the bar leaves the rack. Lie back so your eyes sit roughly under the bar, then plant your feet flat and firm, positioned under or slightly behind your knees so your shins angle backward. This lets you drive through the floor later without your hips popping up.
Now build a stable upper back. Pull your shoulder blades back and down, as if you were tucking them into your back pockets, and squeeze them together. This retraction is the single most important setup cue: it creates a solid shelf to press from, protects the shoulder joint, and shortens the distance the bar travels. Keep a natural arch in your lower back with your glutes on the bench. The same brace-and-stack principle runs through every barbell lift, which is why the fundamentals in our proper lifting form guide apply to the bench as much as to a squat or a pull.
Grip width and wrist position
Grip the bar slightly wider than shoulder width, aiming for index fingers about 1.5 to 2 times shoulder width apart. The test is simple: at the bottom of the rep, your forearms should be vertical when someone looks at you from the front. Too wide overloads the shoulders and shortens your range; too narrow shifts the work to the triceps and tends to flare the elbows.
Wrap your thumbs around the bar in a full grip, never a thumbless “suicide” grip, which can let the bar roll off your hands. Set the bar low in your palm, near the base where it stacks over your forearm bones, and keep your wrists straight rather than bent back. Stacked wrists over the elbows transfer force cleanly and stop the aching wrists that plague lifters who let the bar drift toward their fingers.
The bar path: lower to the chest, press slightly back
Unrack the bar to a straight-arm position over your shoulders, then lower it under control to your lower chest, around the nipple line or just below. This touch point, not the throat and not the upper chest, keeps your forearms vertical and your elbows tucked. Aim your elbows to roughly 45-75 degrees from your torso rather than flaring them straight out to 90, which strains the shoulder and gives away leverage.
The bar does not travel in a straight vertical line. It moves in a slight “J”: down and toward the chest, then up and back so it finishes over your shoulders, where your arms are strongest. Keep the descent controlled, touch the chest lightly, and press. Control on the way down, covered in the same braced approach as a proper squat form descent, is what lets you reverse the load without losing your shoulder position.
Leg drive and full-body tension
The bench press is not just an arm exercise. Once you are braced, push your feet into the floor as you press, a move called leg drive that sends force up through your planted feet, into your braced torso, and into the bar. Done right it keeps your upper back tight against the bench and adds pounds to your press without changing your arms at all.
Crucially, leg drive should not lift your glutes off the bench. Think of driving your body slightly back into the bench and up toward your head, not up into the air. This full-body tension, the same total-body bracing that makes a proper deadlift form safe off the floor, turns the bench from a loose shoulder movement into a stable, powerful press.
Common bench press mistakes to avoid
- Flaring the elbows to 90 degrees. This is the top cause of bench-related shoulder pain. Tuck toward 45-75 degrees and touch the lower chest.
- Bouncing the bar off the chest. It hides weak points and can bruise the sternum. Touch lightly and press with control.
- Losing the shoulder blades. If your blades unpinch mid-set, the shoulder rolls forward. Re-set your upper back before every heavy set.
- Bending the wrists back. Bent wrists leak force and ache. Stack them over the elbows with the bar low in the palm.
- Bouncing the hips off the bench. A moderate arch is fine, but your glutes stay down. Lifting them is a fault and a lower-back risk.
- Pressing with no spotter or safety pins. Never gamble on a max rep with nothing to catch a failed lift.
If your press has stalled rather than hurt, the fix is usually programming, not just technique, and our guide on how to increase your bench press covers the progression, accessory work, and pressing frequency that add weight to the bar.
Warm-up and progression
Start every bench session with a few minutes of general movement, then do ramp-up sets before your working weight: the empty bar for 8-10 reps, then two or three progressively heavier sets of 3-5 reps up to your first work set. This grooves your bar path and primes the shoulders and triceps without fatiguing you.
Build the lift with a simple, repeatable structure, three or four sets of 5-8 reps for most lifters, adding a small amount of weight only when you hit the top of your rep range with clean form on every rep. Pair the bench with pulling work like how to do a pull-up and vertical pressing such as overhead press form so your shoulders stay balanced front to back, and round out lower-body strength with movements like the romanian deadlift form. Progress the load slowly, keep your setup identical from rep to rep, and if any movement causes joint pain rather than muscular effort, back off and consult a coach or clinician before pushing through. This is general fitness information, not medical advice.
Bench press form checklist
Run this quick mental pass before every set:
- Eyes under the bar, feet flat and planted.
- Shoulder blades pinched back and down, small arch, glutes on the bench.
- Grip slightly wider than shoulder width, thumbs wrapped, wrists stacked.
- Lower under control to the lower chest, elbows tucked to 45-75 degrees.
- Drive the feet, press up and slightly back over the shoulders.
- Spotter or safety pins set every time you go heavy.
Master these six points and the bench press stops being a shoulder gamble and becomes one of the most productive, trainable lifts you own.
Frequently asked questions
Where should the bar touch on the bench press?+
The bar should touch your lower chest, around nipple line or just below, not your throat or upper chest. This keeps your forearms roughly vertical at the bottom and lets your elbows stay tucked at about 45 to 75 degrees. Touching too high forces the elbows to flare, which strains the shoulder and shortens your effective leverage.
How wide should my grip be on the bench press?+
For most lifters a grip slightly wider than shoulder width works best, so that at the bottom your forearms are vertical when viewed from the front. A common cue is index fingers about 1.5 to 2 times shoulder width apart. Too wide overloads the shoulders and shortens range; too narrow shifts work to the triceps and can flare the elbows.
Is arching your back on the bench press bad?+
A moderate arch is normal and safe: it sets your shoulder blades, protects the joint, and shortens the bar path. Your feet stay planted and your glutes stay on the bench. What is risky is an extreme, forced arch beyond your mobility or lifting your hips off the bench, which is a technical fault in most settings and adds unnecessary lower-back stress.
Why do my shoulders hurt when I bench press?+
Shoulder pain on the bench usually comes from flared elbows, a bar path that touches too high, or shoulder blades that are not retracted, letting the joint roll forward. Tuck your elbows toward 45 to 75 degrees, pinch your shoulder blades back and down, and touch the lower chest. If pain persists, reduce load and consult a coach or clinician.
Do I need to touch my chest on every rep?+
For full range and honest strength, yes, lower the bar under control until it lightly touches your lower chest, then press. Bouncing the bar off the chest or cutting reps short trains a partial movement and can bruise the sternum. If mobility limits you, work within a pain-free range and improve it gradually rather than dropping the bar.
How do I bench press safely without a spotter?+
Use a power rack with safety pins or arms set just below your chest touch point so a failed rep lands on the pins, not on you. Never bench heavy with the safety collars off hoping to tilt the bar and dump the plates, which is dangerous. When possible, train with a spotter who knows how to hand off and catch the bar.
Should my feet be flat or tucked on the bench press?+
Keep your feet flat and firmly planted so you can drive through the floor for leg drive, which stabilizes your whole body. Position them under or slightly behind your knees so your shins angle back, giving you tension without lifting your glutes off the bench. Flat, stable feet transfer force up through your torso into the press.
Sources
Play & tools
Free browser games and tools — no account, no download.
- Play today's Sports Connections — Today's Sports Connections — daily hints, answers, and play the grid.
- Play Guess the NFL Player — A new mystery NFL player every day. Eight guesses, with a clue on each — plus free unlimited mode.
- Explore all our games →
Related guides
Overhead Press Form: Grip, Bar Path, and Lockout, Step by Step
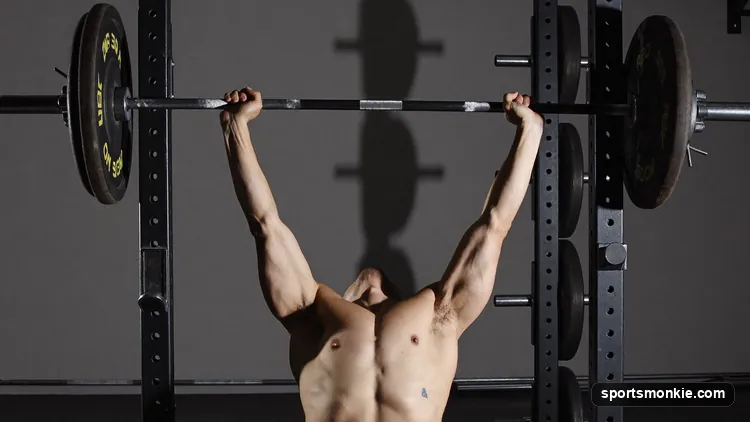
Overhead press form comes down to a stacked bar path: grip just outside the shoulders, brace hard, move your head back so the bar travels straight up past your face, then finish with the bar over the mid-foot.
Proper Deadlift Form: A Step-by-Step Setup, Hinge, and Lockout Guide
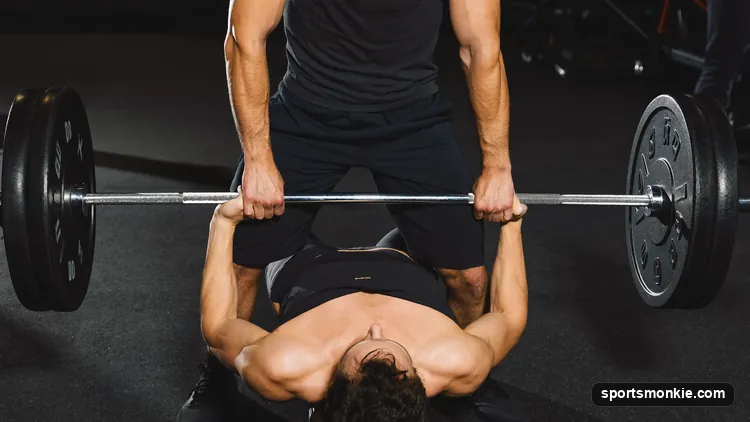
Proper deadlift form starts with the bar over your midfoot, a neutral spine, and a braced core, then drives through the floor to a tall lockout. Here is the full setup-to-lockout checklist plus the mistakes that wreck it.
Proper Squat Form: How to Back Squat Safely, Step by Step
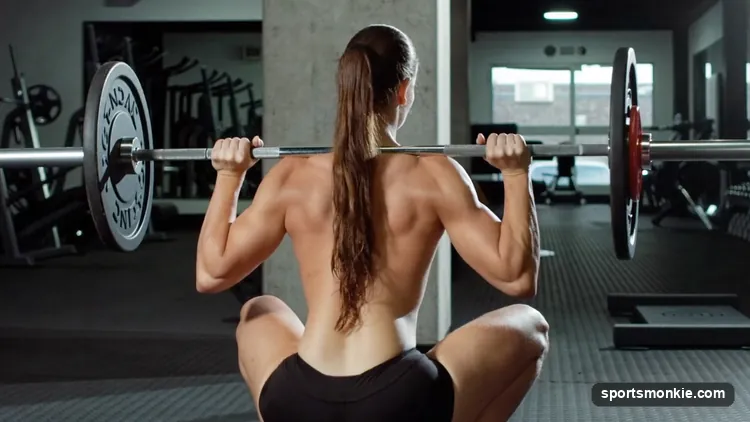
Proper squat form means a braced trunk, hips and knees bending together, knees tracking over the toes, and thighs breaking parallel — here is the setup, the cues, and the fixes for butt wink and knee cave.
Proper Basketball Shooting Form: A Step-by-Step Guide
Master proper basketball shooting form with clear cues for your feet, elbow alignment, guide hand, and wrist snap, plus how to build a repeatable one-motion shot.
Hack Squat Form: How to Use the Machine Safely, Step by Step
Hack squat form means feet mid-platform and shoulder-width, back and shoulders flat against the pads, knees tracking over the toes, and a controlled drop to thighs-parallel — here are the cues, depth, and mistakes.
How to Increase Your Bench Press: 8 Proven Ways to Add Weight
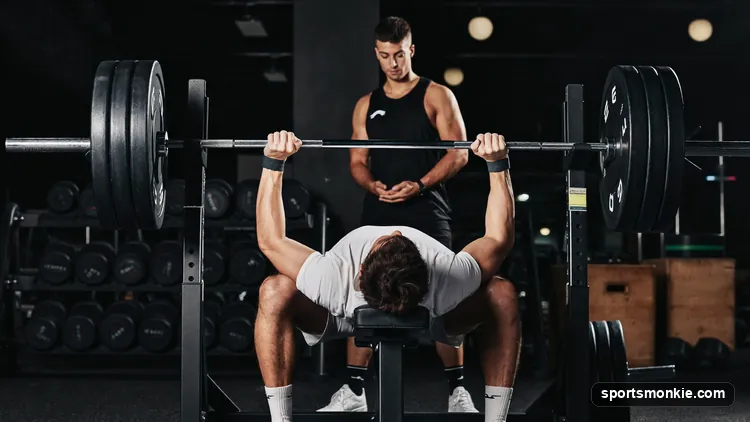
To increase your bench press, tighten your setup and bar path, add pressing volume 2-3x a week, drive progressive overload in small jumps, and build your triceps and upper back. Here is the full 8-week plan.