
Proper Basketball Shooting Form: A Step-by-Step Guide
On this page6
Proper basketball shooting form lines up your shooting foot, hip, elbow, and wrist in one vertical column under the ball, with the elbow tucked and pointed at the rim. Your legs supply the power, your guide hand only balances the ball on the side, and your wrist snaps down so the ball rolls off your fingertips with backspin. Get that chain firing in the same order every rep and your accuracy stops being a guess.
Form is the foundation everything else sits on. If you want the full walkthrough of the shot from the ground up, start with our pillar guide on how to shoot a basketball, then use this article to lock in the mechanical details.
Start From the Ground: Feet and Base
Every good shot begins below the waist. Set your feet about shoulder-width apart so you have a stable, balanced base, then bend your knees and load your legs. This is where your power comes from, not your arms.
Point your shooting-side foot slightly ahead of the other in a subtle stagger. Coaches call this the “1-2 step” on a catch: you plant your inside foot first, then your shooting foot, squaring toward the basket as you gather.
- Toes toward the rim. Your feet set your line to the basket. Aim them at the front of the rim.
- Weight on the balls of your feet. Stay ready to spring up, not flat-footed and heavy on your heels.
- Bend the knees, not the back. Sink into your legs for power while keeping your chest up.
A balanced base is the single biggest fix for inconsistent shooters. If your legs aren’t loading, you’ll reach for distance with your arms, which wrecks your touch. For drills that build this base under fatigue, see our basketball shooting drills.
Stack the Shooting Line: Elbow Alignment
Once your base is set, bring the ball into your shot pocket, usually near your hip or waist on the shooting side. From there, everything stacks in one line: shooting foot, knee, hip, elbow, wrist, and ball.
Your shooting elbow is the piece most players get wrong. Keep it tucked under the ball, not flared out to the side. When you look at your setup, the elbow should sit roughly over your knee and point at the rim.
| Elbow position | What the ball does | Typical miss |
|---|---|---|
| Tucked under the ball | Travels straight to the rim | On-line, short or long |
| Flared out to the side | Pushed across the body | Left or right of the rim |
| Dropped below the wrist | Loses backspin and arc | Flat, hard rims-out |
If your elbow naturally flares, try turning your body a few degrees so your shooting side leads slightly. That “turn” often straightens the whole arm without you having to force the elbow in. Left-right misses are an alignment problem, so this is where you fix them. Explore how this fits the larger picture in our breakdown of jump shot technique.
The Guide Hand: Balance, Never Push
The guide hand (your off or balance hand) has exactly one job: hold the ball steady on the side until release. It never provides power and never steers the shot.
- Place it on the side of the ball, thumb relaxed and pointing up, not wrapped on top.
- Keep it quiet through the shot. It should come off the ball first, before the shooting hand releases.
- Watch your guide thumb. If it flicks the ball, you’ll get side spin and pull shots one direction.
A simple test: shoot a few one-handed form shots with the guide hand off entirely, then reintroduce it as a passive rest. If your accuracy drops the moment you add the guide hand back, it’s pushing. Quieting that hand is one of the fastest ways to learn how to shoot a basketball better.
Rise and Snap: The Release and Follow-Through
Now you connect the legs to the ball. As you extend up out of your knee bend, your shooting arm reaches toward the rim and your wrist snaps forward at the top.
Here’s the sequence, in order:
- Load into your legs and set the ball in the pocket.
- Rise by pushing through the floor, extending legs and shooting arm together.
- Release high, letting the ball roll off your index and middle fingers.
- Snap your wrist so your fingers finish pointing down at the floor.
- Hold the follow-through until the ball reaches the rim.
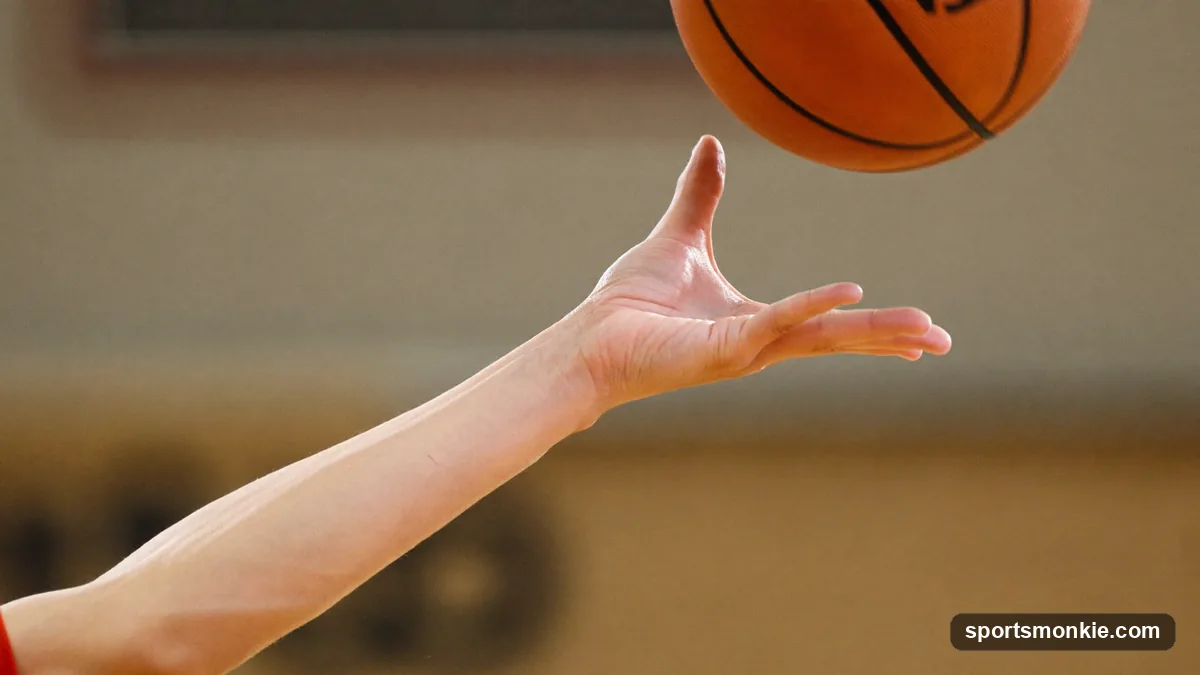
That finish shape, arm extended and wrist flexed with fingers hanging down, is the “gooseneck.” It’s the visible proof that your release fired cleanly. The fingertip roll creates backspin, which softens the ball’s bounce and gives makeable rims a friendly roll.
Aim for a release that peaks near the top of your jump on a jump shot, or in one smooth push on a set shot. Reaching a consistent, high release point keeps defenders from bothering the ball and keeps your arc repeatable.
One-Motion vs. Two-Motion Shooting
There are two legitimate ways to time the shot, and understanding both helps you commit to one.
One-motion shooting blends the dip, leg drive, and arm extension into a single continuous push. The ball never really stops moving from pocket to release. This style creates natural range because leg power flows straight into the ball, and it produces a quick release. Deep shooters and smaller players often live here.
Two-motion shooting separates the phases: you gather and set the ball at your shot pocket or forehead, pause for a beat, then shoot with the upper body. Many catch-and-shoot specialists prefer it because the “set” point makes alignment easy to repeat.
| Trait | One-motion | Two-motion |
|---|---|---|
| Rhythm | Continuous, fluid | Gather, set, shoot |
| Best for | Range, quick release | Mid-range accuracy, control |
| Power source | Legs blend into arms | Upper body after the set |
| Common users | Deep and younger shooters | Catch-and-shoot wings |
Neither is “correct.” The mistake is switching between them shot to shot. Pick the one that matches your strength and range, then groove it. This choice matters most when you extend to distance, which we cover in three-point shooting.
Build It Rep by Rep
Form only sticks through repetition close to the basket. Start one to three feet away, shooting one-handed form shots, and focus on a straight ball with tight backspin. Add the guide hand, then slowly walk back as the shot holds together.
- Check your base every rep: feet set, knees bent, toes to the rim.
- Check your line: elbow under the ball, pointed at the basket.
- Check your finish: gooseneck held, guide hand quiet.
Track your makes from spots and only extend range once you can hit consistently and cleanly from where you are. Because a solid, balanced base and repeatable footwork underpin everything, players who also sharpen their handle move into their shot more smoothly, so pair this work with our basketball dribbling drills to shoot better off the move.
Dial in these fundamentals, and your form becomes automatic. Then you can stop thinking about mechanics mid-game and simply trust the shot you’ve built.
Frequently asked questions
What is proper basketball shooting form?+
Proper shooting form is a repeatable sequence where your feet, hips, shooting elbow, and wrist line up under the ball toward the rim. You bend your knees for power, keep the ball on your fingertips, tuck your shooting elbow, and let the guide hand ride the side without pushing. As you rise, you extend up and snap your wrist so the ball rolls off your index and middle fingers with backspin. A held follow-through confirms the whole chain fired in order.
Where should my elbow be when shooting a basketball?+
Your shooting elbow should stay tucked under the ball and roughly in line with your knee, hip, and the rim, not flared out to the side. From the setup pocket, the forearm points close to vertical and the elbow finishes above eyebrow height on your follow-through. A flared elbow pushes the ball sideways and creates left-right misses. Think 'elbow under the ball' and keep the whole arm working in one flat plane toward the basket.
What does the guide hand do when shooting?+
The guide hand, also called the balance or off hand, only steadies the ball on the side until release. It should sit on the side of the ball with the thumb relaxed, never on top or underneath. At the moment of release, the guide hand stays quiet and comes off first, letting the shooting hand control direction and backspin. If your guide thumb flicks the ball, you get side spin and inconsistent misses, usually pulling shots one direction.
Should I use a one-motion or two-motion shot?+
Both can work. A one-motion shot blends the dip, leg drive, and arm extension into a single fluid push and suits deeper range and quicker releases. A two-motion shot gathers the ball, sets it, then shoots with the upper body, which many players find more accurate at mid-range. Younger or weaker players often start one-motion for range, while catch-and-shoot specialists may prefer a compact two-motion. Pick one and repeat it every rep.
How do I snap my wrist correctly on a jump shot?+
At the top of your extension, flex your wrist forward so your fingers finish pointing down at the floor, a shape shooters call the 'gooseneck' or reaching into the cookie jar. The ball should roll off your index and middle fingertips, producing tight backspin. Hold that follow-through with the arm extended and wrist relaxed until the ball hits the rim. A crisp snap adds soft backspin, which gives you a friendlier, more forgiving bounce.
Why is my shot going left or right instead of short or long?+
Left-right misses almost always come from alignment, not power. Check that your shooting foot, elbow, and wrist stack under the ball and point at the rim, and that a flared elbow or a thumbing guide hand is not steering the ball. Turning your body slightly (a 'turned' or dip-and-turn stance) can straighten a flared elbow. Short or long misses, by contrast, are a rhythm and leg-power issue, so fix direction first, then dial in distance.
Sources
Play & tools
Free browser games and tools — no account, no download.
- Play 82-0 — Draft five, one per position, and see if your lineup can go a flawless NBA season.
- Play Era Ball — Draft an all-time NBA roster from a single era, then simulate a season and chase a perfect run.
- Play 32-0 — Draft five college basketball legends, one per position, and chase a perfect 32-0 national title.
- Explore all our games →
- Get the printable bracket — Download and print a blank tournament bracket to fill out by hand.
- Open the TS% calculator — Calculate TS% from points, field goal attempts and free throw attempts — scoring efficiency in one number.
- Explore all our free sports tools →
Related basketball guides
View all →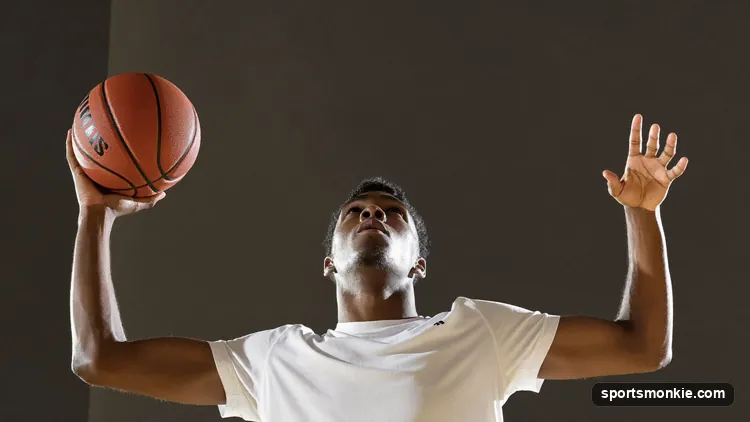
How to Shoot a Basketball: Perfect Form Step by Step
Learn how to shoot a basketball with perfect form: master BEEF, balanced stance, a straight-up release, 45-degree arc, and follow-through to make more shots.
Proper Bench Press Form: A Step-by-Step Guide to a Safe, Stronger Press
Proper bench press form starts with a shoulder-width-plus grip, retracted shoulder blades, a slight arch, and a bar path that touches the lower chest. Here is how to set up, press, and avoid the mistakes that stall your bench and hurt your shoulders.
Proper Deadlift Form: A Step-by-Step Setup, Hinge, and Lockout Guide
Proper deadlift form starts with the bar over your midfoot, a neutral spine, and a braced core, then drives through the floor to a tall lockout. Here is the full setup-to-lockout checklist plus the mistakes that wreck it.
Proper Squat Form: How to Back Squat Safely, Step by Step
Proper squat form means a braced trunk, hips and knees bending together, knees tracking over the toes, and thighs breaking parallel — here is the setup, the cues, and the fixes for butt wink and knee cave.
10 Basketball Shooting Drills to Sharpen Your Shot
Ten basketball shooting drills ranked from foundation to game speed: form shooting, the Mikan drill, catch-and-shoot, off-screen, pull-ups, and pressure free throws.
How to Do a Crossover Dribble: Step-by-Step Guide
Learn how to do a crossover dribble that actually breaks defenders: the low hard bounce, the setup that sells, ball protection, and how to score off it.