
Jump Shot Technique: Elevation, Set Point, Release
On this page7
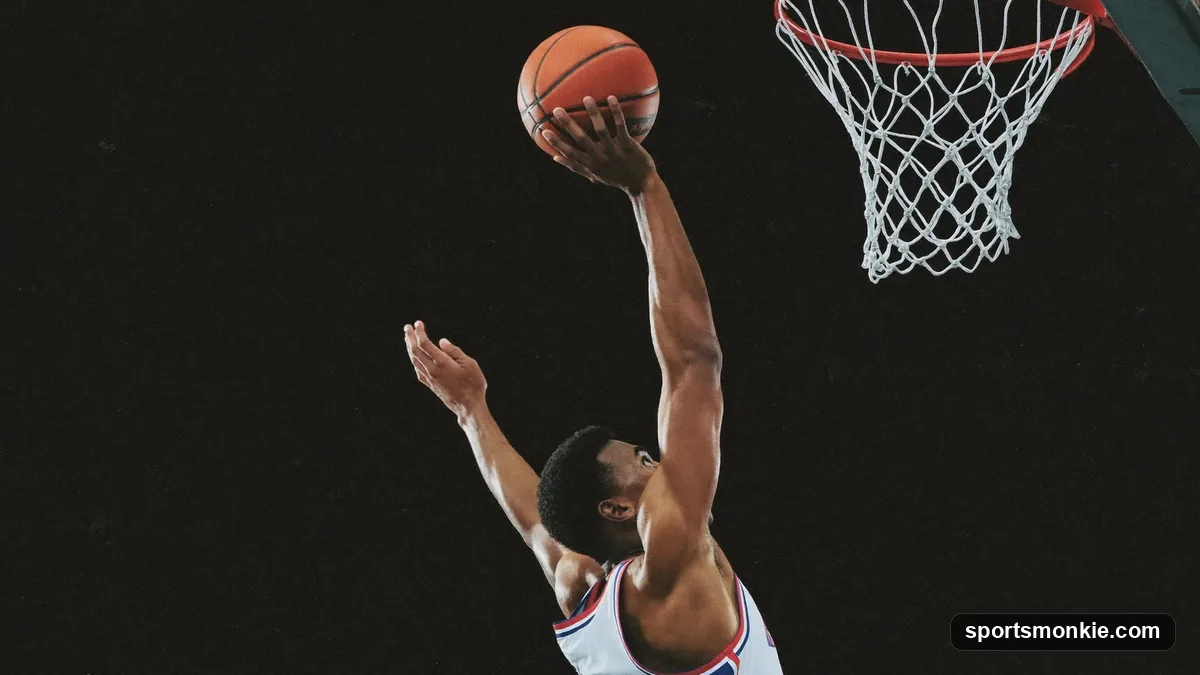
A repeatable jump shot is four things done in the right order: balanced footwork into a low base, a fast load to a set point just above your shooting-side eyebrow, straight-up elevation, and a wrist-snap release timed near the peak of your jump. Catch-and-shoot attempts let you set your feet before the ball arrives; off-the-dribble attempts force you to convert speed into lift with a hard gather step. Get the sequence right and the ball leaves the same way every time.
Start With Your Base and Balance
Everything in a jump shot is built from the ground up, and most misses trace back to sloppy feet rather than bad hands. Set your feet roughly shoulder-width apart with your shooting-side foot slightly ahead—about a toe-to-instep stagger. This “10-and-2” or slightly turned stance lets your hips and shoulders line up toward the rim without twisting.
Bend your knees and sink your hips so you load your legs like a spring. The power for your shot comes from this leg drive, not your arm, which is why great shooters extend their range by using more legs rather than heaving with the upper body. If you want a deeper breakdown of stance, alignment, and the full checklist, work through our pillar guide on how to shoot a basketball alongside this article.
Keep your weight centered over the balls of your feet. If you feel yourself drifting forward, backward, or sideways as you rise, your base was off before you ever left the floor.
Load to a Consistent Set Point
The set point is the brief pause where the ball is cocked and ready before you drive it upward. For most shooters it sits just above and slightly outside the shooting-side eyebrow, high enough to clear a contest but low enough to keep your elbow stacked under the ball.
Check these alignment cues at the set point:
- Elbow under the ball, forming roughly an “L” so your forearm points at the rim.
- Wrist cocked back with the ball resting on your finger pads, not your palm—leave a small gap under the ball.
- Off-hand on the side of the ball as a guide only.
- Eyes locked on your target, usually the front of the rim or the middle of the back of the rim.
Loading to the same set point every time is what turns a good shooter into a consistent one. Grooving that motion is exactly what dedicated basketball shooting drills are built to do, and refining your overall basketball shooting form will make the set point feel automatic.
Elevate Straight Up, Not Forward
Once you are loaded, drive through your legs and jump straight up. The single most common jump shot flaw is drifting—jumping toward the rim, fading sideways, or leaning back—because it changes your distance and angle on every attempt.
Picture landing in roughly the same footprint you jumped from. On a free throw or mid-range shot you barely need to leave the floor; a controlled few inches is plenty. Save real elevation for contested looks and long range, where you need the extra height to clear a defender and the extra leg power for distance.
Here is how much lift different shots typically call for:
| Shot type | Typical elevation | Release timing |
|---|---|---|
| Free throw / short set shot | Minimal, feet may stay low | Just before peak |
| Catch-and-shoot mid-range | Moderate, balanced hop | At or just before peak |
| Off-the-dribble pull-up | Moderate, off a gather | At the peak |
| Deep three / fadeaway | Higher, full leg drive | At the apex |
Whatever the shot, the rule holds: your body should be traveling up when the ball leaves your hand, never sideways.
Release and Follow Through at the Peak
Time your release so the ball leaves your fingers just before or at the peak of your jump. Releasing on the way down forces your arm to compensate, which is where inconsistency and short misses creep in.
The finish is a wrist snap, not a push. Extend your arm up and toward the rim, then snap your wrist so your fingers point down at the floor on the follow-through—the classic “reach into the cookie jar” or “goodnight” wave. The ball should roll off your index and middle fingers with backspin, launching on about a 45-degree arc so it drops softly rather than clanging the front rim.
Hold the follow-through until the ball hits the rim. Freezing your finish forces the rest of the motion to stay honest and gives you instant feedback: fingers pointing at the target usually means the mechanics held together. If your shot keeps coming out flat, our guide on shooting a three point shot breaks down arc and range in more detail, and the same fixes apply to your mid-range game.
Catch-and-Shoot: Set Your Feet Early
Catch-and-shoot is the cleanest form of the jump shot because you can prepare before the ball arrives. The moment you know the pass is coming, get your feet ready and your hands up as a target.
Two footwork methods dominate:
- 1-2 step (stride stop): Land inside foot first, then plant the outside foot as you catch. This flows naturally off movement and is favored by many guards for its rhythm.
- Hop (jump stop): Land both feet together as you catch. This squares you fast and lets you pivot off either foot, which helps under pressure.
Whichever you use, catch the ball on the way into your set point—do not catch it low and then re-lift. Have your hands ready so the ball loads in one motion. This is the same “ready hands” habit that keeps you from getting stripped when you attack the rim, whether you finish with a jumper or a layup.
Off-the-Dribble: Gather and Convert Momentum
Pulling up off the dribble is harder because you are moving and must stop yourself before you shoot. The key is the gather step: a low, wide, planted step that absorbs your horizontal momentum and turns it into vertical lift.
To groove a clean pull-up:
- Lower your hips on the step before you rise so your legs can absorb speed and redirect it upward.
- Take a wider, slightly staggered stance than on a catch-and-shoot to kill drift.
- Rise into your set point in one motion instead of gathering, then re-cocking.
- Square your shoulders to the rim as you go up, even if your drive was angled.
Everything upstream of the shot starts with a controlled handle, so sharpening your crossover dribble and running focused basketball dribbling drills directly improves your pull-up. If you can create separation and gather on balance, the shot itself is the same one you already own.
Common Jump Shot Mistakes to Fix
- Thumb flick from the off-hand. Your guide hand pushed the ball; keep its thumb relaxed and let it come off early.
- Ball on the palm. Losing finger control kills backspin—leave a gap under the ball at the set point.
- Fading or drifting. You jumped away from the rim; land in the same spot you left.
- Dipping the ball too low. A big dip is fine if it is your rhythm, but re-lifting on a catch wastes time against a contest.
- Shooting flat. Snap the wrist and aim for a higher arc so the ball drops into the rim.
Fixing shot problems is mostly about isolating one flaw at a time, which is the whole premise behind learning how to shoot a basketball better through deliberate reps. Build the base, load to your set point, elevate straight up, and snap the release at the peak—then repeat it until it is boring. That boredom is what a reliable jump shot feels like.
Frequently asked questions
Should you release a jump shot at the peak of your jump?+
For a standard jump shot, release the ball just before or right at the peak of your jump, not on the way down. Releasing near the top gives you a stable platform and consistent arc. Pure catch-and-shoot and set shots can release slightly before the peak for a quicker ball, while deep threes and fadeaways often release right at the apex to borrow every inch of height for range.
What is the set point in shooting?+
The set point is the position where the ball pauses briefly before you push it toward the rim, usually just above and outside your shooting-side eyebrow. A consistent set point shortens your release and removes wasted motion. It should be high enough to clear defenders but not so high that you lose the elbow-under-ball alignment. Load the ball to the same set point on every shot to build repeatable timing.
What is the difference between catch-and-shoot and off-the-dribble shooting?+
Catch-and-shoot means you receive a pass with your feet already moving into the shot, so you set your base early and release fast. Off-the-dribble shooting means you create the shot yourself, using a gather step to stop your momentum and convert horizontal speed into vertical lift. Off-the-dribble shots are harder because you must control your body, square up, and find your set point in one motion.
Why do I shoot flat and how do I add arc?+
Flat shots usually come from pushing the ball forward instead of up, a low release point, or a stiff wrist. Aim for roughly a 45-degree launch angle so the ball drops into the rim rather than crashing the front. Snap your wrist down so your fingers point at the floor on the follow-through, and picture shooting over the front of the rim to a target a foot above it.
How high should you jump on a jump shot?+
Jump only as high as you can while staying balanced and keeping your shooting motion smooth—usually a controlled few inches, not a maximum vertical leap. The goal of elevation is to create a clean release window over the defender, not to jump as high as possible. On mid-range and free-throw-line shots, many shooters barely leave the floor. Save big elevation for contested or long-range attempts where you need extra height and range.
Where should your off-hand be on a jump shot?+
Your off-hand rides on the side of the ball as a guide only, never adding force. Keep the thumb relaxed so you avoid a 'thumb flick' that pushes the shot left or right. The off-hand comes off the ball a split second before release, leaving the shooting hand to control the finish. A good check: after you shoot, your guide-hand fingers should still point roughly upward, not curled toward the rim.
Sources
Play & tools
Free browser games and tools — no account, no download.
- Play 82-0 — Draft five, one per position, and see if your lineup can go a flawless NBA season.
- Play Era Ball — Draft an all-time NBA roster from a single era, then simulate a season and chase a perfect run.
- Play 32-0 — Draft five college basketball legends, one per position, and chase a perfect 32-0 national title.
- Explore all our games →
- Get the printable bracket — Download and print a blank tournament bracket to fill out by hand.
- Open the TS% calculator — Calculate TS% from points, field goal attempts and free throw attempts — scoring efficiency in one number.
- Explore all our free sports tools →
Related basketball guides
View all →
Free Throw Technique: A Repeatable Pre-Shot Routine
Master free throw technique with a repeatable pre-shot routine, alignment to the nail, clean mechanics, and controlled breathing to raise your percentage fast.
How to Shoot a Three-Pointer: Range, Power & Footwork
Learn how to shoot a three-pointer with a legs-driven stroke, clean footwork behind the line, and a range-building plan that keeps your form the same at 24 feet.
Box Jump Workout: How to Box Jump Safely and Program It Right
A box jump workout starts with a modest box height, a controlled landing in a soft quarter-squat, and stepping down (never jumping down) — done for low reps with full rest so every rep stays explosive.
How High Do You Have to Jump to Dunk? (By Height)
How high you have to jump to dunk depends on your standing reach: an average 6-foot player needs about a 24-inch vertical, while a 5-foot-10 player needs closer to 28-30 inches. Here's the exact math by height.
How to Dunk a Basketball: The Jump, Approach & Training Plan
How to dunk a basketball comes down to one number: your standing reach plus your vertical leap has to clear the 10-foot rim. Here's the math, the approach mechanics, and a realistic training path to your first dunk.

How to Hit a Bunker Shot: The Splash Technique That Escapes Every Time
To hit a greenside bunker shot, open the clubface, aim two inches behind the ball, keep your weight forward, and splash the sand while accelerating through to a full finish. Here is the step-by-step method.