
8 Golf Grip Drills to Fix Your Hands and Stop the Slice

On this page14
- 01Split-Then-Join Drill (fixes the whole grip)
- 02Logo-Check Drill (fixes a weak, slice-causing grip)
- 03Pressure-Count Drill (fixes a death grip that kills speed)
- 04Mirror Grip Drill (fixes hand alignment and V-direction)
- 05Strong-Grip Anti-Slice Drill (fixes a slice that won't quit)
- 06Wrist-Hinge Grip Drill (fixes a weak release and no lag)
- 07Trail-Hand Trigger Drill (fixes an overactive trail hand and flipping)
- 08Grip-and-Waggle Drill (fixes tension and transfers the grip to real swings)
- 09How We Ranked These Grip Drills
- 10The Neutral Grip Checkpoints You Are Drilling Toward
- 11Why the Grip Sets the Clubface
- 12A Simple 3-Week Grip Practice Plan
- 13Common Grip Mistakes to Avoid
- 14When to Stop Drilling and Just Play
Drills are ranked by how many golfers the underlying fault affects and how directly the grip controls it: a weak slice-producing grip and a whole-grip rebuild rank highest because they fix the most common misses, while niche tweaks like the trail-hand trigger rank lower.
- Foundation drill
Split-Then-Join Drill (fixes the whole grip)
This ranks first because every other drill on the list assumes you can already build a neutral grip, and this is the one that builds it. Place your lead hand first, check that you see two knuckles, then slide your trail hand up until its lifeline covers your lead thumb and the fingers interlock or overlap. Separating the two placements stops the trail hand from dragging the lead hand out of position, which is the most common way amateurs sabotage a fresh grip.
Do 20 reps a day looking each time, then keep going until the grip forms without checking. It ranks above the logo-check drill because it fixes both hands and both faults (weak and strong) rather than only lead-hand rotation. Pair it with our step-by-step how to grip a golf club walkthrough.
Fixes: whole grip, beginners · Reps: 20/day, no ball · Key check: two-knuckle lead hand, lifeline over thumb
- Slice killer
Logo-Check Drill (fixes a weak, slice-causing grip)
An open clubface at impact is the single biggest cause of a slice, and a weak grip, hands rotated too far toward the target, is what leaves it open. Wear a glove with a logo on the back of the lead hand: at address the logo should point up and slightly toward your target, not at the sky or behind you. That one visual removes the guesswork, which is why it ranks second only to the full rebuild.
Rotate your lead hand clockwise until the logo sits right, then rehearse taking the grip and re-checking. It ranks above the strong-grip drill because it targets the neutral fix most players actually need, rather than a training exaggeration you later have to unwind.
Fixes: weak grip, slices · Check: glove logo up and toward target · Cause repaired: open clubface
- Tension reset
Pressure-Count Drill (fixes a death grip that kills speed)
Grip pressure should sit around four or five on a one-to-ten scale, firm enough to control the club but loose enough to hinge the wrists freely. Take your grip, squeeze as hard as you can and call that a 10, then bleed the tension off while counting down until you reach a 4 or 5 and freeze there. Most amateurs grip at an 8 or 9, which locks the wrists and drains clubhead speed.
It ranks third because tension undermines every other fix, yet it is a feel adjustment rather than a structural one. Rehearse the squeeze-and-release five times before a session so your hands learn the light-but-secure number on their own.
Fixes: grip tension, lost speed · Target pressure: 4-5 of 10 · Reps: 5 squeeze-and-release before play
- Alignment check
Mirror Grip Drill (fixes hand alignment and V-direction)
Both "V"s formed by your thumbs and forefingers should point at your trail shoulder. Looking straight down you cannot see the trail-hand V clearly, so faults hide there. Stand in front of a mirror, take your grip, and confirm the two Vs are parallel and aimed at the same shoulder before adjusting either hand.
This ranks above the strong-grip drill because it exposes a faulty trail hand, the quiet source of many hooks and pushes, that a knuckle count alone misses. Take the grip five more times, confirming in the mirror each rep, so the alignment survives without the mirror.
Fixes: hand alignment, V-direction · Tool: mirror · Reps: 5 confirmed grips
- Chronic-slice fix
Strong-Grip Anti-Slice Drill (fixes a slice that won't quit)
If you slice no matter what, deliberately strengthen the grip as a training exaggeration: rotate both hands clockwise until you see three or four knuckles on the lead hand, hit soft half-shots, and watch the ball start to draw or straighten. Once the slice disappears, back off to a neutral two-to-three-knuckle grip that keeps most of the correction.
It ranks below the logo-check drill because the exaggeration is temporary scaffolding, not the finished grip. Grip and swing path both feed a slice, so pair this with our guide on how to stop slicing the golf ball.
Fixes: chronic slice · Exaggeration: 3-4 knuckles, soft half-shots · Then: return to neutral
- Release link
Wrist-Hinge Grip Drill (fixes a weak release and no lag)
Take your grip, hinge the club straight up in front of you using only the wrists, and watch whether the clubface stays square. If the face rolls open as you hinge, your grip or forearm rotation is off. Set and unset the wrists 10 times, keeping the face on plane, to link a correct grip to a proper release.
This sits mid-list because it repairs the handoff from grip to swing rather than the grip itself. It protects the work you did in your golf swing drills sessions by teaching the hands to hinge without twisting the face.
Fixes: weak release, no lag · Reps: 10 set-and-unset · Check: face stays square through hinge
- Hand balance
Trail-Hand Trigger Drill (fixes an overactive trail hand and flipping)
An overactive trail hand flips the club and closes the face too early, causing hooks and inconsistent contact. Form a slight trigger with your trail-hand forefinger, the way you would hold a fishing rod, then make slow swings feeling that finger stay passive through impact.
It ranks near the bottom because it targets a narrower fault than the top drills and only matters once your grip is already sound. Rehearse half-swings where the trail hand supports and the body rotates the club, so neither hand takes over.
Fixes: overactive trail hand, flipping · Feel: passive trigger finger · Reps: slow half-swings
- Transfer drill
Grip-and-Waggle Drill (fixes tension and transfers the grip to real swings)
Take your neutral grip, then waggle the club with small back-and-forth motions before each rehearsal swing, holding pressure at your 4-to-5 count throughout. The waggle keeps the hands soft and stops you freezing over the ball with a death grip.
It ranks last not because it is unimportant but because it is the bridge you build only after the others hold: it carries the correct grip and pressure from drills into your real pre-shot routine. Fold it into your range work so the change survives to the first tee.
Fixes: tension, transfer to real swings · Use: pre-shot routine · Hold: 4-5 pressure through the waggle
Reader interaction
Build your ranking
Drag the names into the order you think is right — or use the arrows — then submit to see how your list compares with everyone else's.
- Split-Then-Join Drill (fixes the whole grip)
- Logo-Check Drill (fixes a weak, slice-causing grip)
- Pressure-Count Drill (fixes a death grip that kills speed)
- Mirror Grip Drill (fixes hand alignment and V-direction)
- Strong-Grip Anti-Slice Drill (fixes a slice that won't quit)
- Wrist-Hinge Grip Drill (fixes a weak release and no lag)
- Trail-Hand Trigger Drill (fixes an overactive trail hand and flipping)
- Grip-and-Waggle Drill (fixes tension and transfers the grip to real swings)
Audience ranking
How everyone ranked them
Built from reader rankings using position-based points.
Your grip is the only contact you have with the club, so a small fault there gets multiplied through the entire swing. That is why fixing your hands repairs a slice or hook faster than any swing change: you are correcting the root, not chasing symptoms downstream. The eight drills above are each matched to a specific problem, so work the one that fits your miss.
How We Ranked These Grip Drills
Placement comes down to two things: how many golfers the underlying fault affects, and how directly the grip controls it. The split-then-join and logo-check drills top the list because a weak, slice-producing grip is the most common amateur fault and the grip owns it completely. Feel-based fixes like the pressure-count drill rank just below because tension undermines everything but is quick to reset. Narrower or later-stage drills, such as the trail-hand trigger and the grip-and-waggle transfer, sit lower because they only matter once your base grip is already sound. None of this is about difficulty; it is about which fix returns the most strokes to the most players.
The Neutral Grip Checkpoints You Are Drilling Toward
Every drill is aiming at the same set of checkpoints, so learn them first. Take your lead-hand grip (left hand for a right-handed golfer) and look down: you should see two to three knuckles, and the “V” formed by your thumb and forefinger should point toward your trail shoulder. Add your trail hand so its lifeline sits snugly over your lead thumb, with its “V” pointing to the same shoulder. Grip pressure sits around 4 or 5 out of 10. The proper golf grip reference explains why each checkpoint matters, and it feeds directly into how to swing a golf club.
Why the Grip Sets the Clubface
An open clubface at impact is the biggest single cause of a slice, and a shut face is what sends the ball left with a hook. Because your hands set that face angle before you move an inch, changing them is the cheapest and fastest correction in golf, ahead of any golf swing technique adjustment. A grip that is too weak (hands rotated toward the target) opens the face; a grip that is too strong (hands rotated away) closes it. The knuckle count you drill is really a proxy for where that face will point at impact.
A Simple 3-Week Grip Practice Plan
Week 1 — Build it. Do the split-then-join and logo-check drills 20 reps a day at home, no ball, until you can form a repeatable neutral grip without looking.
Week 2 — Pressure and face. Add the pressure-count and wrist-hinge drills, then hit soft half-shots and watch the ball flight straighten. Keep pressure at a 4 or 5 on every shot.
Week 3 — Transfer it. Use the grip-and-waggle routine before every ball at the range and fold the new grip into full swings. Test it under the random reps of driving range practice drills so the change survives to the course.
Common Grip Mistakes to Avoid
| Mistake | Why it hurts | Drill that catches it |
|---|---|---|
| Gripping in the palm, not the fingers | Kills wrist hinge and speed | Split-then-join |
| Squeezing too tight | Locks wrists, stalls the release | Pressure-count |
| Changing your grip mid-round | Two bad holes and you abandon it | 3-week plan (home reps) |
| Ignoring the trail hand | Creeps under the club and closes the face | Mirror grip |
Most golfers obsess over the lead hand and never audit the trail hand, which is exactly why the mirror and trail-hand drills earn their spots.
When to Stop Drilling and Just Play
Grip drills belong at home and on the range, not on the first tee. Once your neutral grip forms automatically and your ball flight has straightened, stop consciously checking your hands mid-round and let the grip become invisible. A sound grip is also what lets you safely chase distance, so once it holds, layer in a how to increase golf swing speed routine and take the same repeatable grip into learning how to hit a driver, where an open face is punished most. Do the thinking in practice; on the course, react and swing.
Frequently asked questions
What is the best golf grip drill for beginners?+
The split-then-join drill is the best starting point because it builds a correct grip from scratch every time. Place your lead hand first and check the two-knuckle view, then join your trail hand so its lifeline sits over your lead thumb. Repeat it 20 times a day until the grip forms automatically without looking, which usually takes a couple of weeks of short daily reps at home.
How do grip drills fix a slice?+
A slice usually comes from a weak grip that leaves the clubface open at impact. The logo-check and strong-grip drills rotate both hands slightly clockwise so you can see two or three knuckles on your lead hand, which helps square the face through the ball. Grip is the cheapest slice fix because it needs no swing change, though a steep out-to-in path can still slice a correctly gripped club.
How tight should I hold a golf club?+
On a scale of one to ten, grip pressure should sit around four or five, firm enough to control the club but loose enough to hinge your wrists freely. The pressure-count drill trains this by having you squeeze to a ten, then release down to your target number. Most amateurs grip far too tightly, closer to an eight or nine, which locks the wrists and kills clubhead speed and release.
Should I use an interlock or overlap grip?+
Both work, so pick by hand size and comfort. The overlap grip, named after Harry Vardon, suits larger hands and is used by roughly 90 percent of tour players. The interlock suits smaller hands and juniors, and both Jack Nicklaus and Tiger Woods used it their whole careers. The split-then-join drill works with either style; the join step is simply the only part that changes.
How long does it take to fix a golf grip?+
A new grip usually feels normal within two to three weeks of daily reps, but expect it to feel strange and even weaker at first. That awkwardness is the sign it is working, since your old grip was built on compensations. Do short, frequent grip-forming reps at home rather than trying to groove a new grip mid-round, where two bad holes tempt most players to abandon it.
Can I practice grip drills without hitting balls?+
Yes, and you should. Most grip drills, including the mirror drill, logo-check drill, and pressure-count drill, work better indoors with no ball because you can focus entirely on your hands. Add a ball only after the grip forms correctly on its own, then test it with soft half-shots before full swings. Ball-free reps are also how you build the grip fast without denting your range budget.
Sources
Play & tools
Free browser games and tools — no account, no download.
- Play today's Sports Connections — Today's Sports Connections — daily hints, answers, and play the grid.
- Play Guess the NFL Player — A new mystery NFL player every day. Eight guesses, with a clue on each — plus free unlimited mode.
- Explore all our games →
Related golf guides
View all →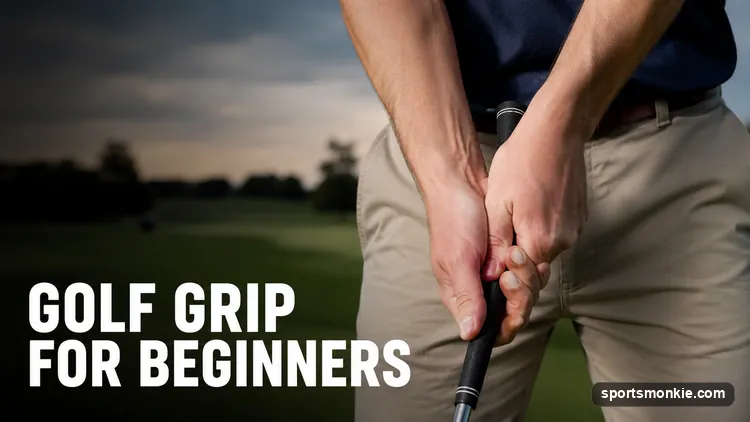
Golf Grip for Beginners: How to Hold the Club Correctly
A beginner's golf grip starts with the lead hand: place the club in your fingers, not your palm, so you see two knuckles at address. Here is the step-by-step method, grip styles, and the faults to avoid.
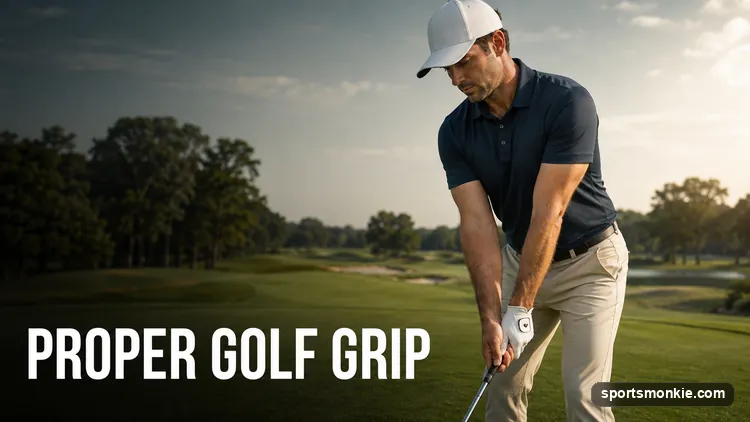
Proper Golf Grip: What a Correct Grip Looks Like and Why It Matters
A proper golf grip has neutral hands, matching V's pointing at your trail shoulder, light pressure, and unified hands acting as one unit through impact.
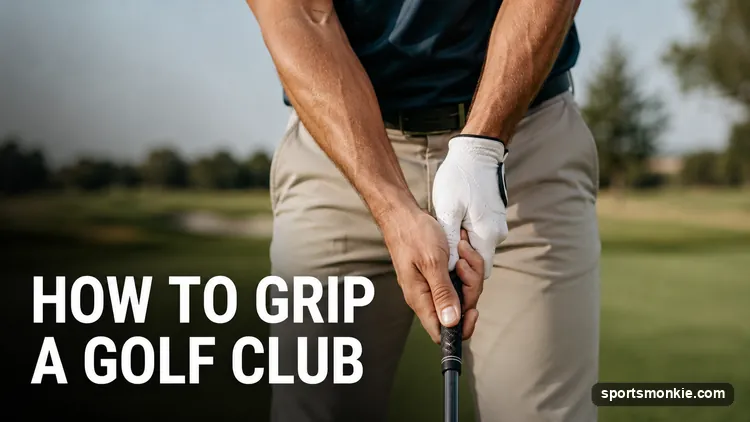
How to Grip a Golf Club: The Correct Grip in 5 Steps
To grip a golf club correctly, rest it diagonally across your lead-hand fingers, close the hand so the V points at your trail shoulder, then set your trail hand so both palms face each other. Here is the full 5-step setup, pressure scale, and fixes for the grip faults that cause slices and hooks.
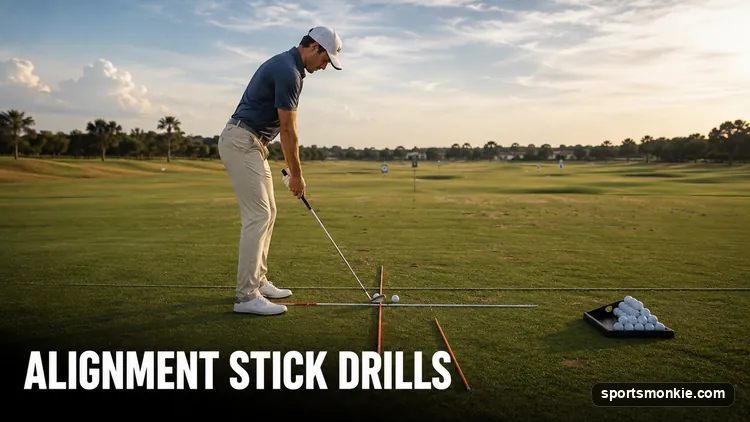
10 Alignment Stick Drills for Golf (Fix Aim, Path & Plane)
Ten alignment stick drills that fix golf's invisible faults—aim, swing path, and plane—using two cheap rods, each with a setup, a cue, and the exact miss it repairs.

8 Golf Backswing Drills to Fix Your Takeaway and Turn (By Fault)
Eight golf backswing drills ranked by impact and matched to the fault each one fixes: wristy takeaway, short shoulder turn, sway, open clubface, and off-plane shaft.

9 Golf Downswing Drills to Fix Your Sequence and Path
Nine golf downswing drills ranked by how directly they fix the over-the-top move, weight shift, and lost lag — each with a cue and the exact fault it repairs.