
Proper Golf Putting Grip: How to Hold the Putter for a Steadier Stroke
On this page8
- 01Why the Putting Grip Is the Opposite of Your Full-Swing Grip
- 02The Three Checkpoints of a Proper Putting Grip
- 03The Reverse-Overlap Grip (start here)
- 04The Cross-Hand (Left-Hand-Low) Grip
- 05The Claw (and Pencil) Grip
- 06How to Choose (and When to Switch) Your Putting Grip
- 07Common Putting-Grip Mistakes
- 08A Simple Practice-Green Grip Routine
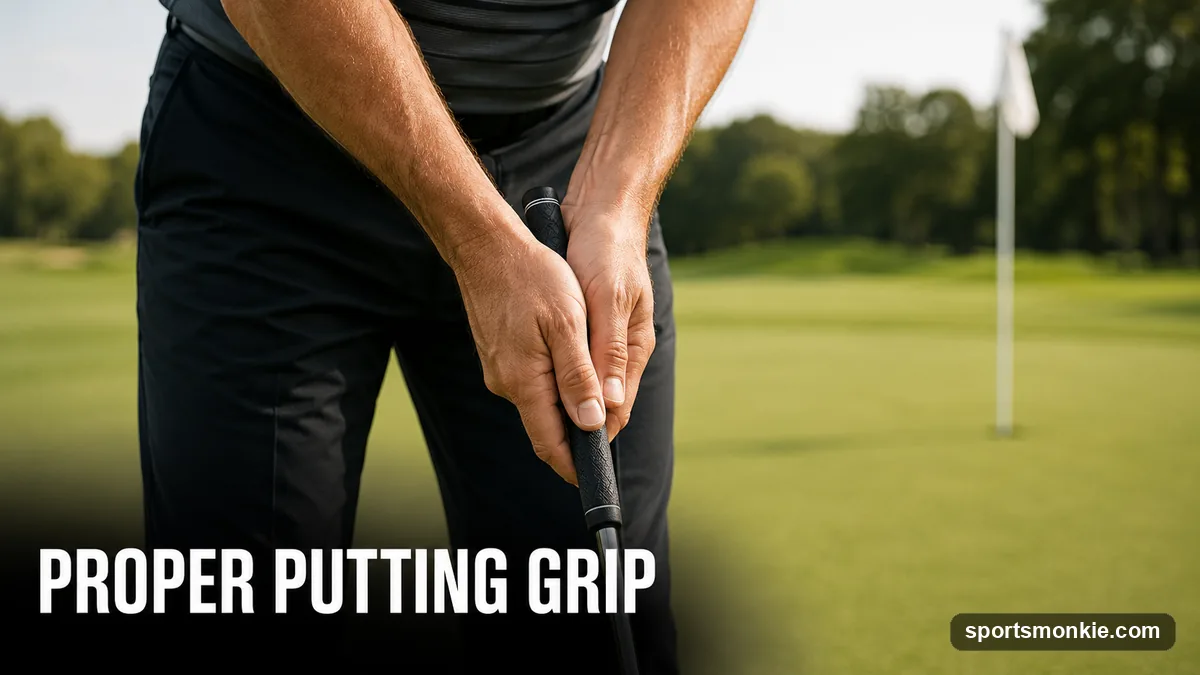
A proper golf putting grip runs the handle up the lifelines of both palms, not the fingers, sets both thumbs flat down the top of the grip, and turns the palms to face each other so your hands work as a single unit. That is the opposite of how you hold a driver, and it is the whole point: on the green you want the wrists dead quiet so the shoulders can rock the putter like a pendulum. Get those three checkpoints right, add a light 4-out-of-10 grip pressure, and you remove the number-one cause of pushed and pulled short putts before you ever read the break.
Why the Putting Grip Is the Opposite of Your Full-Swing Grip
For a full shot you hold the club in the fingers so the wrists can hinge and unhinge to create speed. Putting needs the reverse. Distance on the green comes from the length of your shoulder stroke, not from any wrist action, so a proper putting grip is built to remove wrist hinge entirely. That is why the finger-based proper golf grip that serves you well when you swing a golf club actively works against you with a putter in your hands.
Run the handle up the lifelines of both palms and the wrists lock out. Let the grip slip down into the fingers and they free up, and free wrists are exactly what you do not want when you are trying to roll a four-footer on a consistent line. If you tend to leak shots right off the tee, the same handsy release is often the culprit, which is why the fix for slicing the golf ball and the fix for a shaky putting stroke both start with controlling the hands.
The Three Checkpoints of a Proper Putting Grip
Every good putting grip, whatever style, shares three setup checkpoints. Nail these first.
- Palms face each other. Set both palms parallel and square to the face, like you are about to clap around the handle. Palms that face each other keep the putterface square; a palm turned under or over twists the face and pushes or pulls the putt.
- Thumbs flat down the top. Point both thumbs straight down the flat front of the grip. Putter grips are made with a flat top face for exactly this reason. Thumbs on top anchor the face angle and stop the hands rotating during the stroke.
- Light, even pressure. Hold it around a 4 out of 10. Even pressure in both hands preserves feel for distance and lets the putter release freely. A death grip creates forearm tension that makes the stroke jerky and is the fastest way to yank a short one.
Check all three in a mirror before you worry about which grip style to use. A square, quiet, light hold fixes more putts than switching grips ever will.
The Reverse-Overlap Grip (start here)
The reverse-overlap is the default putting grip on the PGA Tour and the right starting point for almost everyone. Take a normal two-hand hold with the palms facing, then lift your lead-hand index finger and lay it across the fingers of your trail hand, resting it on top. That one change unifies the hands so neither can work independently or flip at the ball.
The reverse-overlap suits a slight arc or a straight-back-straight-through stroke, works with blade and mallet putters alike, and keeps both hands engaged for feel. If you are new to the green or have never thought about your grip at all, groove this one with the three checkpoints above before experimenting. It pairs naturally with the pendulum motion covered in our step-by-step guide to how to putt in golf.
The Cross-Hand (Left-Hand-Low) Grip
Cross-hand, also called left-hand-low for a right-hander, swaps your hands so the lead hand sits below the trail hand on the handle. This does two useful things: it levels your shoulders at address, and it stops the lead wrist from breaking down and flipping through impact, which is the most common short-putt killer.
Use cross-hand if you push short putts, feel your lead wrist collapse at the ball, or your shoulders sit tilted and open. It can feel strange for the first few sessions and slightly reduce touch on long lag putts, so pair it with distance-control work. Many golfers who struggle with the yips or with pulling four-footers find the change instantly steadier. Once the motion feels natural, groove it with the same repetitions you would use for any putting drills that build a repeatable stroke.
The Claw (and Pencil) Grip
The claw takes the trail hand almost entirely out of the stroke. Hold the handle normally with your lead hand, then grip it lightly with the fingertips of your trail hand, thumb on top, fingers underneath, like holding a pencil or a claw over the grip. Because the trail hand can no longer push or flip, the stroke becomes a pure lead-arm-and-shoulder motion.
The claw is the go-to fix for the yips and for players whose dominant trail hand overpowers the stroke on short putts. There are several variants, including the pencil grip, where the trail hand simply pinches the top of the handle between thumb and fingers. All of them share one goal: silence the hand that is sabotaging you. If the claw fixes your short putts but you still lose strokes from long range, the problem is speed, not stroke, and no grip change fixes that, only feel and reps do.
How to Choose (and When to Switch) Your Putting Grip
Do not switch grips because a tour pro did. Switch because you have a specific, repeatable fault. Use this quick map:
- Pushing or pulling putts, wrists breaking down → try cross-hand to quiet the lead wrist.
- The yips, trail hand overpowering the stroke → try the claw or pencil.
- No obvious fault, good feel → stay reverse-overlap; do not fix what is not broken.
- Losing distance control, not direction → the grip is fine; work on stroke length and green reading instead.
Give any new grip at least two or three focused practice sessions before you judge it, because a change always feels worse before it feels better. Putting is nearly 40% of the shots in a round, so time spent grooving the right hold on the practice green compounds faster than almost anything you do in the golf swing drills you run for your full swing. Diagnose your putting stroke first with our guide to golf putting technique, then let the grip fix the fault you actually have.
Common Putting-Grip Mistakes
Gripping in the fingers like a full swing. This is the biggest error. Fingers free the wrists; run the handle up the palms to lock them out.
Uneven or crushing pressure. One hand squeezing harder than the other twists the face. Match pressure between hands and keep it around a 4 out of 10.
Chasing a new grip instead of fixing setup. Most “grip problems” are really palms that are not square or thumbs not down the top. Fix the three checkpoints before changing styles.
Switching grips mid-round. A grip change is a practice-green project, not an on-course rescue. Learn it slowly, then trust it when you play.
A Simple Practice-Green Grip Routine
- Set the checkpoints (5 minutes). In a mirror, build your grip: palms facing, thumbs flat on top, pressure at 4/10. Rebuild it ten times so it becomes automatic.
- Gate the face (10 minutes). Roll straight three-footers with your chosen grip, watching that the ball starts on line. If it leaks, your palms or thumbs have drifted; reset and repeat.
- Lag with feel (10 minutes). Hit long putts to a tee, focusing only on distance. This proves your light grip pressure has preserved touch, not just direction.
Run that twenty-five-minute routine two or three times a week and a proper putting grip stops being something you think about and becomes the quiet foundation of every putt you hit.
Frequently asked questions
What is the correct grip for putting in golf?+
Run the handle up the lifelines of both palms instead of the fingers, point both thumbs straight down the flat top of the grip, and turn your palms to face each other so they work as one unit. Then add a linking grip such as the reverse-overlap, where your lead index finger lays over your trail-hand fingers, and hold it lightly.
Should your thumbs be on top of the putter grip?+
Yes. Both thumbs should sit flat down the top of the putter grip, pointing straight at the ground when you are set up. Most putter grips have a flat front face specifically so your thumbs can run down it. This locks the face angle and stops the hands from rotating open or closed during the stroke.
What is the difference between cross-hand and claw putting grips?+
Cross-hand (left-hand-low for a right-hander) simply swaps your hands so the lead hand sits below the trail hand, which levels the shoulders and stops the lead wrist from flipping. The claw grips the handle lightly in the fingertips of the trail hand, like holding a pencil, taking that hand almost entirely out of the stroke. Both fight the yips and a breaking-down wrist.
How tight should you hold a putter?+
Very lightly, around a 4 out of 10 on a scale where 10 is a death grip. Light pressure lets the putter swing freely and preserves feel for distance, which is where most three-putts come from. A tight grip adds tension in the hands and forearms, making the stroke jerky and killing your touch on lag putts.
Which putting grip is best for beginners?+
Start with the reverse-overlap. It is the most common grip on tour, works with almost any putter and stroke, and requires only one change from a normal hold: lift your lead index finger and lay it over the fingers of your trail hand. Master a square, palms-facing setup with light pressure first, then only switch grips if a specific fault such as a flippy wrist appears.
Why do the pros use different putting grips?+
Because grip is a fix, not a fashion. A tour player who fights a breaking-down lead wrist or nervy short putts will go cross-hand or claw to quiet that hand; a player with a reliable stroke often stays reverse-overlap. The grip should match the fault you are trying to solve, which is why you see reverse-overlap, cross-hand, claw, and pencil grips all winning majors.
Sources
Play & tools
Free browser games and tools — no account, no download.
- Play today's Sports Connections — Today's Sports Connections — daily hints, answers, and play the grid.
- Play Guess the NFL Player — A new mystery NFL player every day. Eight guesses, with a clue on each — plus free unlimited mode.
- Explore all our games →
Related golf guides
View all →
Golf Putting Technique: How to Grip, Aim, and Stroke It Pure
Good golf putting technique comes down to four things: a light square grip, eyes over the ball, a shoulder-driven stroke, and a face that returns square. Here is how to build each one.
Golf Grip for Beginners: How to Hold the Club Correctly
A beginner's golf grip starts with the lead hand: place the club in your fingers, not your palm, so you see two knuckles at address. Here is the step-by-step method, grip styles, and the faults to avoid.
Proper Golf Grip: What a Correct Grip Looks Like and Why It Matters
A proper golf grip has neutral hands, matching V's pointing at your trail shoulder, light pressure, and unified hands acting as one unit through impact.

9 Best Golf Putting Drills to Sink More Putts and Kill 3-Putts
The best golf putting drills fix one thing at a time: the gate drill fixes your start line, the ladder drill fixes distance control, and the clock drill builds short-putt confidence. Here are 9 drills that lower your putts per round.
12 Golf Putting Tips to Sink More Putts and Cut Your Score
The best golf putting tips start with setup: eyes over the ball, a quiet lower body, and distance control. Here are 12 simple putting tips to hole more short putts and three-putt less.
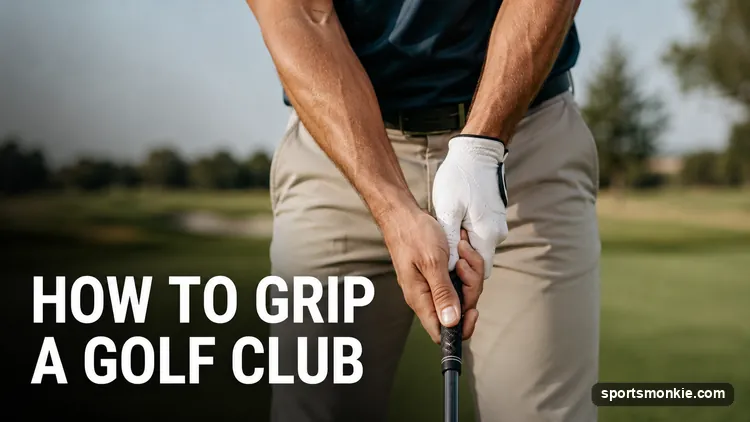
How to Grip a Golf Club: The Correct Grip in 5 Steps
To grip a golf club correctly, rest it diagonally across your lead-hand fingers, close the hand so the V points at your trail shoulder, then set your trail hand so both palms face each other. Here is the full 5-step setup, pressure scale, and fixes for the grip faults that cause slices and hooks.