
Jump Training for Women Over 50: A Safe, Low-Impact Plan
On this page7
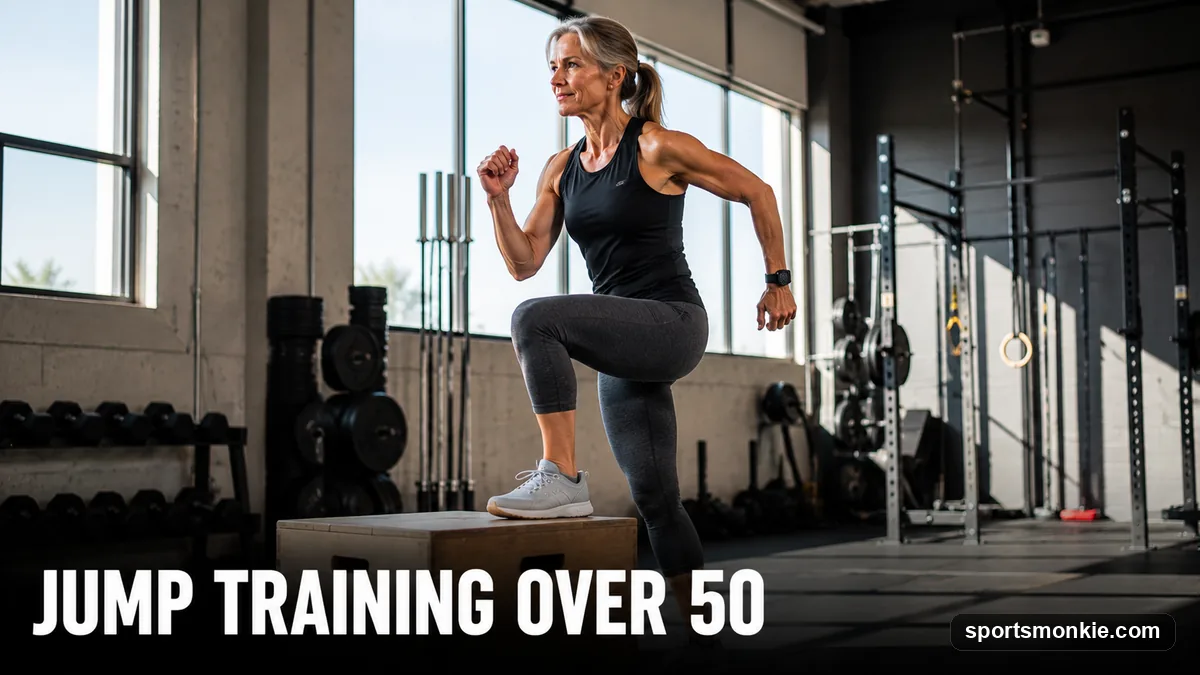
Jump training for women over 50 is one of the most effective ways to build bone density, balance, and lower-body power — as long as you start low-impact and progress patiently. The key is to earn the impact: master a soft, quiet landing on step-ups and low pogo hops first, then add height and force over 8 to 12 weeks. Done twice a week, that approach delivers the bone-building stimulus jumping is famous for while protecting the knees, hips, and tendons that need more recovery after 50.
Why Jumping Is Worth It After 50
Bone responds to fast, forceful loading. The brief spike of ground-reaction force when you land from a hop signals your body to lay down new bone, which is exactly what matters as estrogen decline accelerates bone loss around menopause. Steady walking and cycling are healthy, but they don’t load the skeleton sharply enough to move bone density much. Jumping does.
The benefits go beyond bone. Explosive, ground-based movement trains the fast-twitch muscle fibers you lose fastest with age, sharpening the reactions that prevent falls. Better balance, quicker feet, and stronger tendons are all downstream of learning to jump and land well. If you want the broader science of building explosiveness at any age, our pillar guide on how to jump higher breaks down the strength-plus-plyometrics formula this plan is built on.
Start Low-Impact: Landing Comes First
Before any real jumping, spend a week or two grooving a soft landing. Poor landing mechanics — landing stiff-legged, knees caving inward, or with a loud slap — are where over-50 jumpers get hurt. A good landing is quiet, balanced, and absorbed by the whole leg.
Practice this way: step off a low curb or the bottom stair and “stick” the landing. Aim for these cues on every rep:
- Land quietly — if you can hear a thud, you’re absorbing too little.
- Soft knees and hips — bend both to soak up force, like lowering into a quarter-squat.
- Knees track over toes — never let them collapse inward.
- Chest up, eyes forward — a balanced torso keeps the load on your muscles, not your joints.
Only once you can land softly and hold the position for a beat should you start hopping. This landing-first rule is the single biggest safety difference between jump training over 50 and jumping in your twenties. For a deeper menu of gentle drills to build from, our plyometric leg exercises guide ranks moves from lowest to highest impact.
The Beginner Moves, in Order
Progress through these in sequence. Don’t add the next until the current one feels easy and your landings stay quiet.
Step-ups. Step onto a low, sturdy box or stair, drive through the lead leg, and step down under control. Pure strength, near-zero impact — the foundation.
Step-downs. Stand on the low box and step off one leg at a time, landing softly. This trains the exact deceleration your joints need for real jumps.
Pogo hops. Small, springy hops in place, staying tall with stiff-but-not-locked ankles. Keep them low — an inch or two off the floor. Pogos teach elastic bounce with minimal joint stress and are the ideal first true jump.
Low two-foot hops. Short forward or side hops, landing soft and balanced. Add these only after pogos feel automatic.
Low box jumps (optional, later). Jump onto a 6 to 12 inch box so you land higher than you took off, which keeps landing impact low. Step down, never jump down. For more structured options once these feel solid, work through a plyometric exercises list and pick the low-impact tier.
A Simple 8-Week Weekly Plan
Train twice a week with at least 48 hours between sessions. Warm up first with 5 minutes of brisk walking plus leg swings, ankle circles, and bodyweight squats.
- Weeks 1-2 — Landing base. Step-ups (2 x 8 each leg), step-downs (2 x 6 each leg), landing “sticks” off a low stair (2 x 5). No real jumping yet.
- Weeks 3-4 — Add elastic bounce. Keep step-ups, add pogo hops (3 x 10 low reps) and low two-foot hops (2 x 5). Rest 60-90 seconds between sets.
- Weeks 5-6 — Build volume. Pogos (3 x 15), forward line hops (3 x 6), step-downs (2 x 8). Landings must stay quiet or you scale back.
- Weeks 7-8 — Add modest height. Introduce optional low box jumps (3 x 5, step down each time), keep pogos as a warm-up. Deload volume ~40% in a week if joints feel achy.
Fifteen minutes of jumping per session is plenty. Quality of landing beats quantity of reps every time. This progression mirrors the structure in our vertical jump workout plan, scaled down for lower impact and slower tendon recovery.
Pair Jumping With Strength and Recovery
Plyometrics work best on a strength base. Two short strength sessions a week — squats, hip hinges, calf raises, and step-ups with light weight — stiffen the tendons that store and release energy, making jumps both more powerful and safer. Beginners looking for targeted lower-body strength can borrow moves from our plyometric exercises for vertical jump guide and keep them low-intensity.
Recovery is not optional after 50. Tendons and joints adapt more slowly, so leave 48 hours between jump sessions, sleep well, and eat enough protein (roughly 0.7 grams per pound of bodyweight) plus adequate calcium and vitamin D to support bone remodeling. Well-cushioned shoes and a forgiving surface — rubber gym flooring or firm grass rather than concrete — cut impact meaningfully.
Common Mistakes to Avoid
- Skipping the landing phase. Jumping before you can land softly is the top cause of injury. Spend the first two weeks earning it.
- Too much, too soon. Adding height, reps, and frequency all at once overloads tendons. Change one variable at a time.
- Jumping down off boxes. Always step down; the landing force from jumping off a box is far higher than jumping onto one.
- Training through joint pain. Soreness is fine; sharp or lingering joint pain is a stop sign. Scale back to step-ups and reassess.
- Ignoring strength work. Plyometrics on weak legs plateau fast and stress joints. Build the base.
When to Check With a Professional
Get medical clearance before starting if you have diagnosed osteoporosis, a joint replacement, recent injury, balance disorders, or a heart condition. A physical therapist can adapt every move here to your body, and a coach can watch your landing mechanics — the one thing hardest to self-assess. Used sensibly, jump training is a rare exercise that builds bone, power, and confidence at the same time. Start low, land soft, and let the progression do the work.
Frequently asked questions
Is jumping safe for women over 50?+
Yes, for most healthy women, when it is progressed gradually. Start with low pogo hops and step-ups that keep impact modest while you learn to land softly. Ground-reaction forces are what build bone, so jumping is uniquely valuable after 50. Clear it first with a doctor if you have osteoporosis, joint replacements, or a heart condition.
How often should a woman over 50 do jump training?+
Two sessions a week is the sweet spot, with at least 48 hours between them. That gives tendons and joints time to adapt and rebuild, which happens more slowly after 50. Each session only needs 10 to 15 minutes of actual jumping. More frequency raises injury risk without adding much benefit.
Can jump training improve bone density after menopause?+
Research suggests high-impact loading like hopping and jumping can help maintain or modestly improve hip and spine bone density in postmenopausal women. Bone responds to the quick, forceful loading that jumping provides better than to steady low-impact cardio. Pair it with strength training and adequate protein, calcium, and vitamin D.
What if I have knee or hip pain?+
Start with the lowest-impact options: step-ups, small step-downs, and heel raises that build strength without the landing force of a hop. Land quietly, bending the knees and hips to absorb force. If a movement causes sharp or lingering pain, stop and see a physical therapist, who can adapt the plan to your joints.
How many inches of vertical can a woman over 50 realistically gain?+
Modest but real gains are common. Beginners often add an inch or two over a few months as tendons stiffen and coordination improves. The bigger wins after 50 are usually functional: quicker reactions, better balance, and stronger bones. Height gains matter less than the reduced fall risk and everyday power you build.
Do I need equipment to start jump training over 50?+
No. Your body weight, a sturdy staircase, and a low curb cover the first several weeks. A cushioned surface such as a rubber gym floor or firm grass reduces impact. Later you can add a low 6 to 12 inch box for step-ups and step-downs. Supportive, well-cushioned athletic shoes matter more than any gadget.
Sources
Play & tools
Free browser games and tools — no account, no download.
- Play today's Sports Connections — Today's Sports Connections — daily hints, answers, and play the grid.
- Play Guess the NFL Player — A new mystery NFL player every day. Eight guesses, with a clue on each — plus free unlimited mode.
- Explore all our games →
Related guides

Heptathlon Training Guide: Beginner and High School Plan
A practical heptathlon training guide for beginners and high school athletes, with weekly structure, event priorities, recovery and common mistakes.

10K Training Plan: A 10-Week Schedule to Race Day
This 10K training plan builds from a 5K base over 10 weeks with easy runs, weekly tempo and interval sessions, a long run to 7-8 miles, and a taper.

8-Week 5K Training Plan (Beginner to Intermediate)
This 8-week 5K training plan runs three to four days a week, mixing easy runs, intervals, one tempo run, and a weekly long run to get you to the finish line faster. Full week-by-week schedule and target-time paces.

12-Week Half Marathon Training Plan (Beginner to Sub-2:00)
A 12-week half marathon training plan that builds from a 3-mile base to race day: easy runs, one long run per week to 11-12 miles, weekly tempo and interval work, then a 2-week taper and a paced race strategy.

How to Dunk a Basketball: The Jump, Approach & Training Plan
How to dunk a basketball comes down to one number: your standing reach plus your vertical leap has to clear the 10-foot rim. Here's the math, the approach mechanics, and a realistic training path to your first dunk.

Marathon Training Plan for Beginners: A 16-Week Schedule
A beginner marathon training plan runs 16 to 18 weeks, builds from about 15 to 40 weekly miles, and peaks with a 20-mile long run before a 3-week taper. Here is the full week-by-week schedule.