
How to Serve in Tennis: Technique, Stance, and Tips
On this page9
Ask most club players what breaks down first under pressure and they’ll say the serve. It’s the one shot you control entirely on your own, no opponent to react to, and yet it’s usually the least reliable part of an amateur’s game. The fix is almost always the same two things: a toss that lands in the same spot every time, and a swing that goes up and out instead of down.
The Basics: What the Rules Require
Each point starts with a serve from behind the baseline. The server stands to the right of the center mark for the first point, alternating between the ad and deuce sides after that, tosses the ball, and strikes it before it bounces. The ball has to clear the net and land inside the opponent’s service box. You get two tries; miss both and it’s a double fault, point to the receiver.
Step 1 — Stance and Starting Position
Stand sideways to the net (for a platform stance) or at roughly 45° (for a pinpoint stance). Your front foot points toward the right net post (right-handed player); your back foot runs roughly parallel to the baseline. Weight starts on the back foot.
| Stance | Description | Best for |
|---|---|---|
| Platform | Feet stay shoulder-width apart throughout | Stability, beginners |
| Pinpoint | Back foot slides forward to meet front foot at trophy pose | Extra leg drive, advanced players |
Step 2 — The Grip
Use the continental grip. To find it, place your palm on the edge (bevel #2 on a standard grip), as if chopping with the side of your hand. This grip lets you pronate for a flat serve, add sidespin for a slice, or brush up for a kick serve, all without changing your hand position. If it feels awkward at first, our full guide to the continental grip in tennis walks through the bevel, the cues, and drills to make it feel natural.
Avoid the “frying pan” grip, palm flat behind the handle. It blocks wrist action and produces weak, flat serves with no margin for error.
Step 3 — The Toss
Of everything covered here, the toss matters most.
- Hold the ball in your fingertips, not your palm.
- Lift your tossing arm straight up (do not flick or spin the ball).
- Release the ball around eye level.
- Target: slightly in front of your lead shoulder and a few inches inside the baseline.
Practice the toss alone: toss, let the ball drop, and see where it lands. Aim for the same spot every time.
Step 4 — The Loading Phase (Trophy Pose)
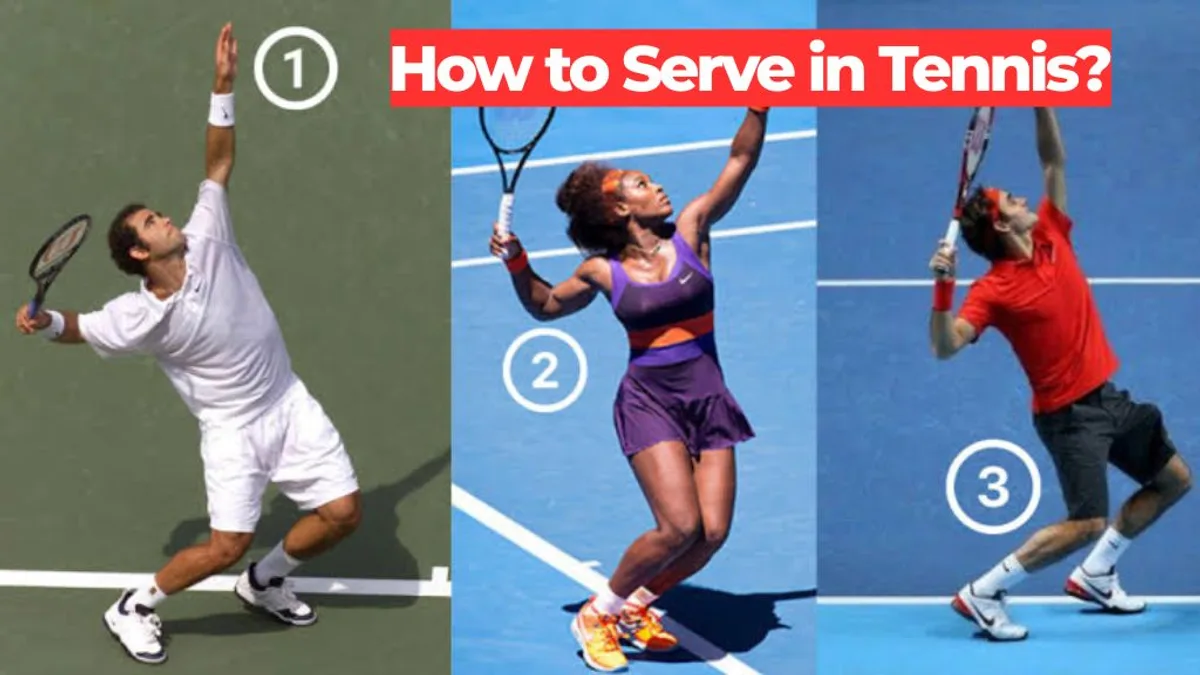
As your toss arm rises, your racket arm bends, bringing the racket behind your head into the “trophy pose”: racket pointing skyward, elbow around shoulder height. Your knees bend to load power from your legs.
Step 5 — The Swing and Contact
Drive upward with your legs, extend your tossing arm (it naturally lowers as you reach up with the racket), and swing the racket toward the ball at maximum arm extension. Contact should happen above and slightly in front of your head.
At contact:
- Pronate your forearm (rotate the racket face from its edge to facing the net) to drive the flat serve.
- Brush up and across for a kick serve.
- Swing outward and pronate for a slice serve.
Step 6 — The Follow-Through
After contact, let the swing carry the racket down and across your body to the opposite hip. Your weight naturally transfers onto your front foot as you step into the court.
Common Mistakes to Avoid
| Mistake | Fix |
|---|---|
| Tossing behind your head | Toss in front of the lead shoulder |
| Arm-only swing (no leg drive) | Bend knees and push upward |
| Hitting down instead of up-and-out | Focus on contact at maximum height |
| Using the wrong grip | Switch to continental. It feels awkward at first, but it unlocks spin and power |
Practice Routine for Beginners
- Toss-only drill: 20 tosses, catching the ball at the apex.
- Serve from the service line (halved distance) until 7 out of 10 land in.
- Move to the baseline and repeat.
- Film yourself from the side to check toss placement and trophy pose.
Frequently asked questions
What grip should I use to serve in tennis?+
The continental grip is the standard grip for serving. Hold the racket as if you were shaking hands with the handle's edge facing you — it allows natural pronation through the swing and is used for flat, slice, and kick serves.
Why does my serve keep going into the net?+
A serve that hits the net is usually caused by tossing the ball too far in front, swinging too early, or failing to extend upward fully. Focus on tossing slightly in front of your lead foot and reaching up and out at contact.
How high should the ball toss be when serving?+
The toss should reach roughly the height of your full arm-and-racket extension plus a few inches — high enough that you can hit at your maximum reach, but not so high the ball drifts in the wind before you swing.
Sources
Play & tools
Free browser games and tools — no account, no download.
- Play today's Sports Connections — Today's Sports Connections — daily hints, answers, and play the grid.
- Play Guess the NFL Player — A new mystery NFL player every day. Eight guesses, with a clue on each — plus free unlimited mode.
- Explore all our games →
Related tennis guides
View all →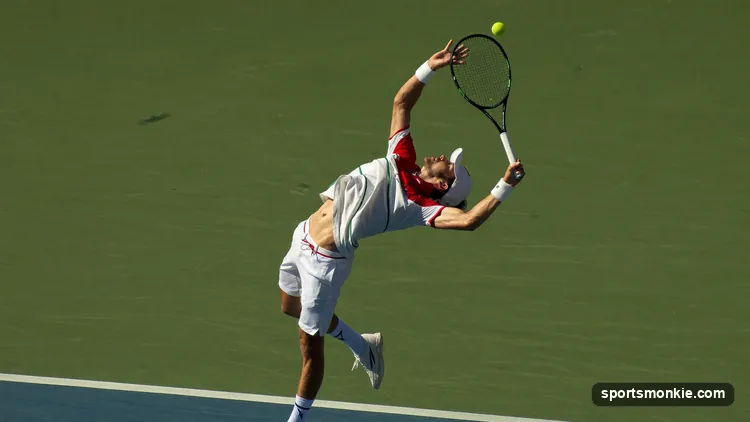
How to Hit a Kick Serve: Grip, Toss, and Brush-Up Technique
To hit a kick serve, use a continental grip, toss the ball over your head and slightly left, and brush the racket up the back of the ball from 7 to 1 o'clock while driving with your legs. Here is the full step-by-step.
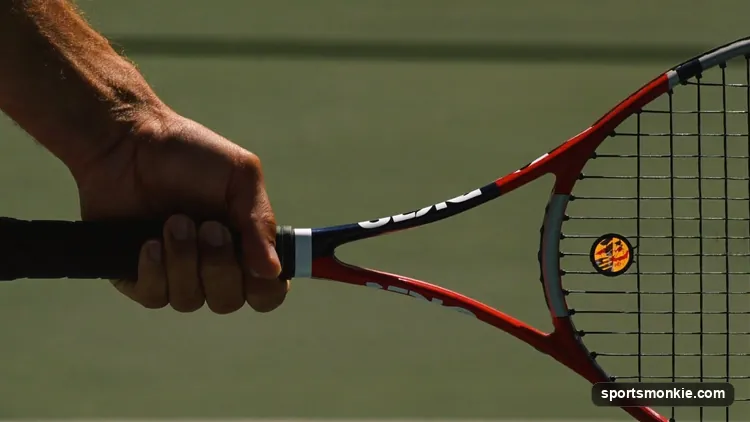
Eastern Grip in Tennis: The Bevel-3 Forehand Explained
The eastern grip in tennis places your index knuckle on bevel 3 for a flat, versatile forehand. Learn how to find it, its pros and cons, and who uses it.
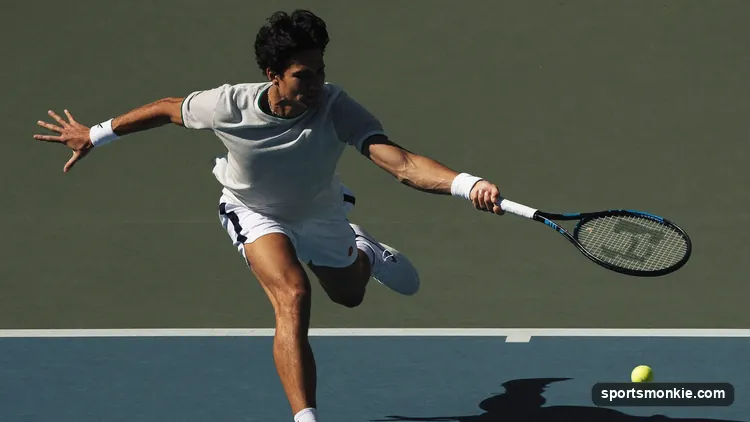
How to Hit a Tennis Backhand: Grip, Turn, Contact, and Drills
To hit a tennis backhand, turn your shoulders early, load with an Eastern backhand or two-handed grip, swing low-to-high, and make contact out in front of your front hip.
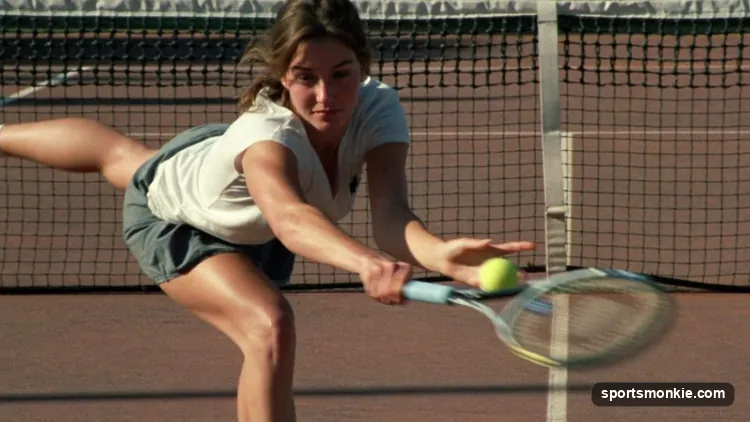
Drop Shot in Tennis: Technique, Timing, and When to Use It
A drop shot in tennis is a soft, backspin-heavy stroke that just clears the net and dies short. Learn the grip, disguise, and when to hit it.
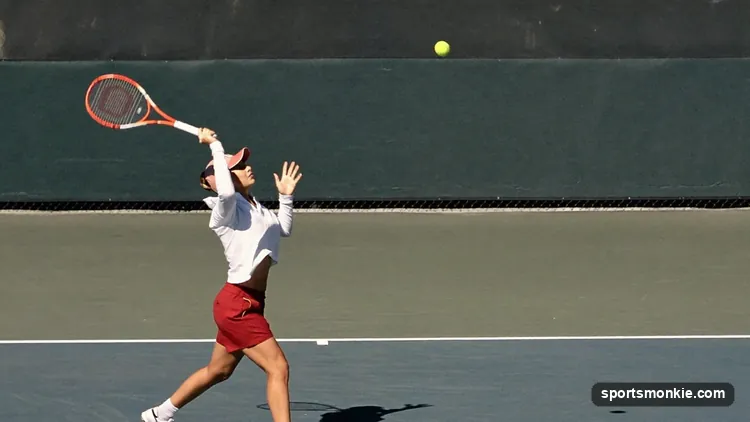
Lob in Tennis: Definition, Technique, and When to Use It
A lob in tennis is a high, arcing shot hit over an opponent at the net. Learn the offensive vs. defensive lob, technique, and its counter, the smash.
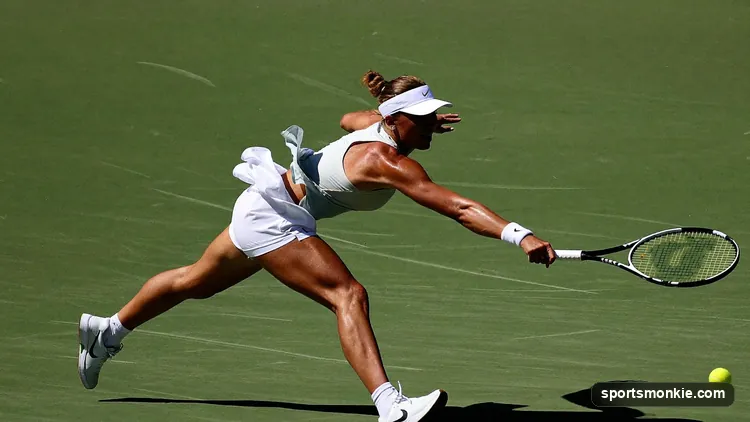
Forehand in Tennis Explained: Grips, Swing Path, and Technique
The forehand in tennis is the groundstroke hit on a player's dominant-hand side. Learn grips, swing mechanics, topspin, and common mistakes.